

You want to make a bracelet from string, and you want it to look good on the first try. Good news: you need only a few strands, a few knots, and about twenty minutes. String bracelet making is one of the easiest ways to learn how jewelry is built.
This guide covers the supplies, a simple three-strand braid, a knotted stripe pattern, and a sliding closure. You will also learn how to size the band and fix the usual mistakes.
- Cotton embroidery floss is the easiest string for beginners, and a basic braid needs only three strands.
- Cut each strand about 30 inches long, then tie them together with a knot about 3 inches from the top.
- Measure your wrist first so the finished band slides on and off with a sliding knot.
What You Need Before You Start
The kind of string you pick shapes the whole project. Some cords are soft and forgiving. Others hold a knot well but slip when you pull them tight.
For a first bracelet, grab embroidery floss. It comes in hundreds of colors, costs very little, and stays put when you knot it. Each skein holds six thin threads that you can use together or split apart.
| String type | Feel | Best for |
|---|---|---|
| Embroidery floss | Soft, grippy | Beginners, knotted patterns |
| Waxed cotton cord | Smooth, firm | Sliding knots, small charms |
| Nylon cord | Slick, strong | Beaded bands, daily wear |
| Plastic lacing | Stiff, shiny | Box stitch and simple weaves |
| Yarn or thread scraps | Fuzzy, thick | Chunky braids, practice runs |
Beyond string, you need scissors, a ruler, and tape. A clipboard or a safety pin on a pillow also helps. Both hold the top of your work still while your hands do the knotting.
String Bracelet Making Step by Step
Start with the simplest build: a flat three-strand braid. Pick three colors, or use one color for a clean look.
Follow these steps:
- Cut three strands, each about 30 inches long.
- Hold them together and tie an overhand knot about 3 inches from one end.
- Tape the knot to a table, or pin it to a pillow.
- Spread the strands out in a fan, left, middle, and right.
- Cross the right strand over the middle one. It is now the middle strand.
- Cross the left strand over the new middle one.
- Repeat, right over middle, then left over middle, and keep the tension even.
- Stop when the braid is about 2 inches shorter than your wrist.
- Tie another overhand knot, and leave a 3 inch tail.
Pull each cross snug, but do not yank. A braid that is too tight curls up and feels stiff on the wrist.
If you want a thicker band, double the strands. Six strands braided in pairs give a rounder, fuller look with the same motion.

Easy Patterns for Beginners
Once the braid feels natural, try a knotted pattern. Most friendship-style designs rely on one move: the forward knot.
The candy stripe
Cut four strands, two colors, each about 32 inches. Tie them together at the top and line them up. Take the left strand and make a small loop over the next strand, then pull it through to form a knot.
Make a second knot with the same strand over the same neighbor. Repeat across the row. The left strand travels to the right side, and the next strand becomes your working thread.
Each row slants the same way, so the colors form diagonal stripes. After a few rows, the pattern becomes easy to read.
A bracelet with no beads
Some readers ask how to make a bracelet with string and no beads. The braid and the candy stripe both fit that need. Color and knot size do all the design work, so a plain cord still looks finished.
Adding a bead
If you do want a bead, thread it onto the center strand before you braid. Slide it down to the spot you like, then keep braiding. Choose a bead with a hole wide enough for your cord.
Sizing and Closures
A bracelet that is too tight pinches. One that is too loose slides off. Wrap a piece of string around your wrist, mark the spot where it meets, and lay it flat against a ruler. Our guide to how to measure your wrist for a bracelet shows the method in detail.
Add about an inch to that number for a comfortable fit. Add a little more if you like a loose, drapey band.
A sliding knot makes a closure that adjusts, so one bracelet can fit a wide range of wrists. Here is the quick version:
- Overlap the two tails so they run side by side.
- Wrap one tail around both cords three times.
- Pass the tail back through the loops you made.
- Pull the tail to tighten the knot.
- Repeat on the other tail, facing the opposite direction.
Pull the two outer cords apart to tighten the bracelet. Slide the knots toward each other to loosen it.

Common Mistakes and Quick Fixes
Most beginner problems come from tension. A few habits fix almost all of them.
Uneven knots. Pull each knot with the same force. Count to one as you tighten, and do it the same way every time.
Curling edges. This means the strands are pulled too hard. Loosen your grip and let the cord lie flat.
Tangles. Cut shorter strands, or wrap the spare length around a piece of cardboard. Fewer loose ends means fewer knots in the wrong place.
A pattern that drifts. Keep the working thread on the same side each row. Check the slant every few rows against your first stripe.
Fraying ends. Trim the tails to half an inch and seal them with glue, or melt synthetic cord with a lighter. Do the melting with an adult nearby and keep it away from your skin.
When You Want Something That Lasts
A string bracelet is a fun, cheap project. It is also a short-lived one. Cotton frays, fades, and picks up dirt over a few months of daily wear.
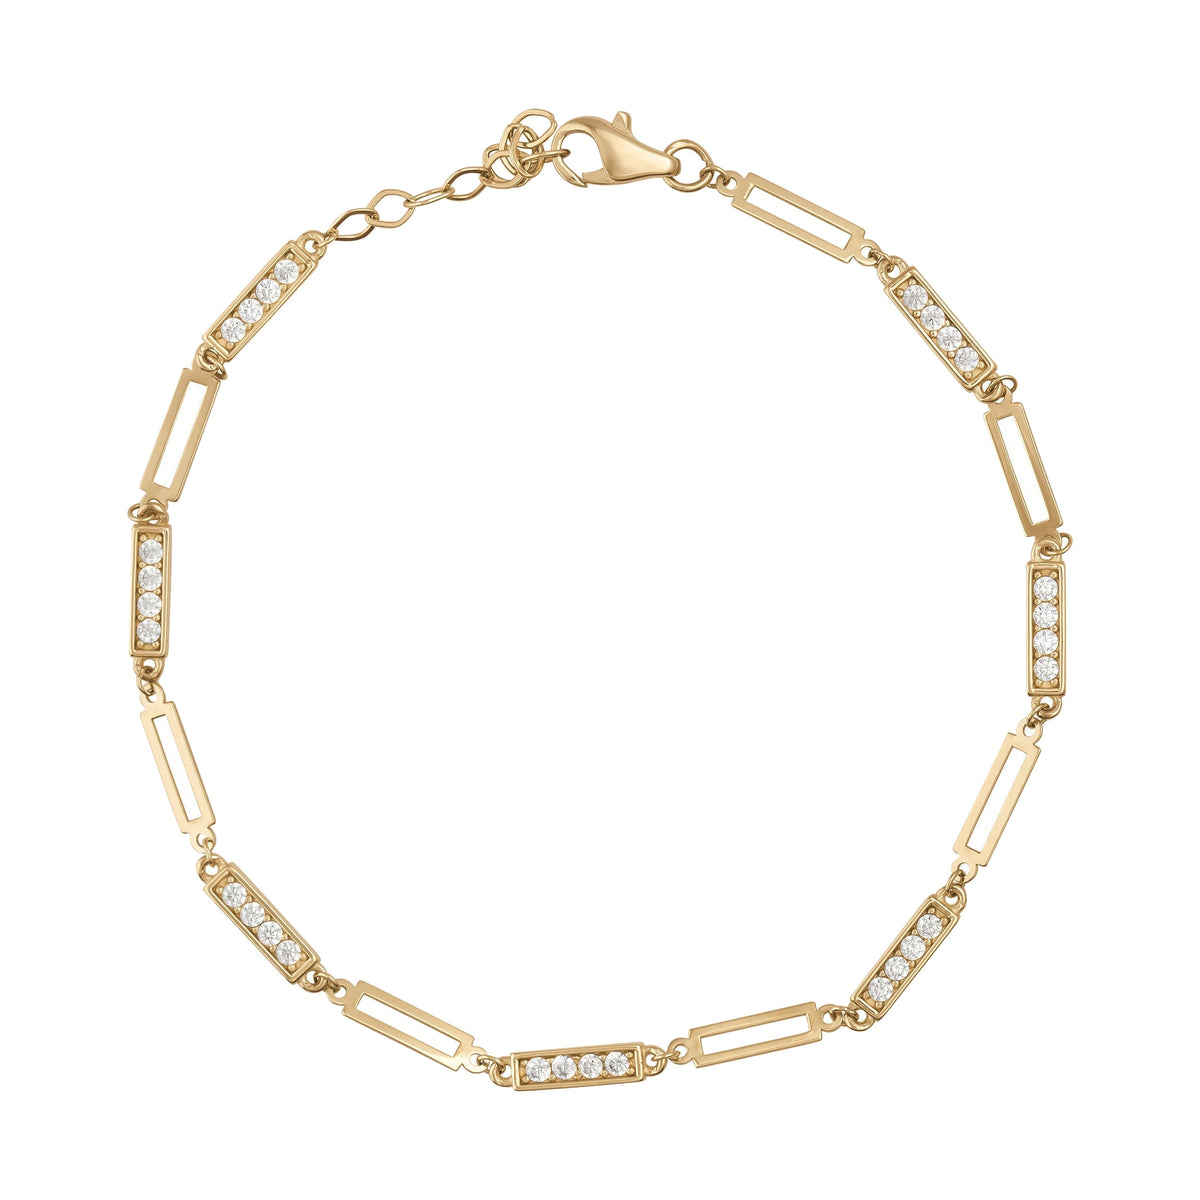
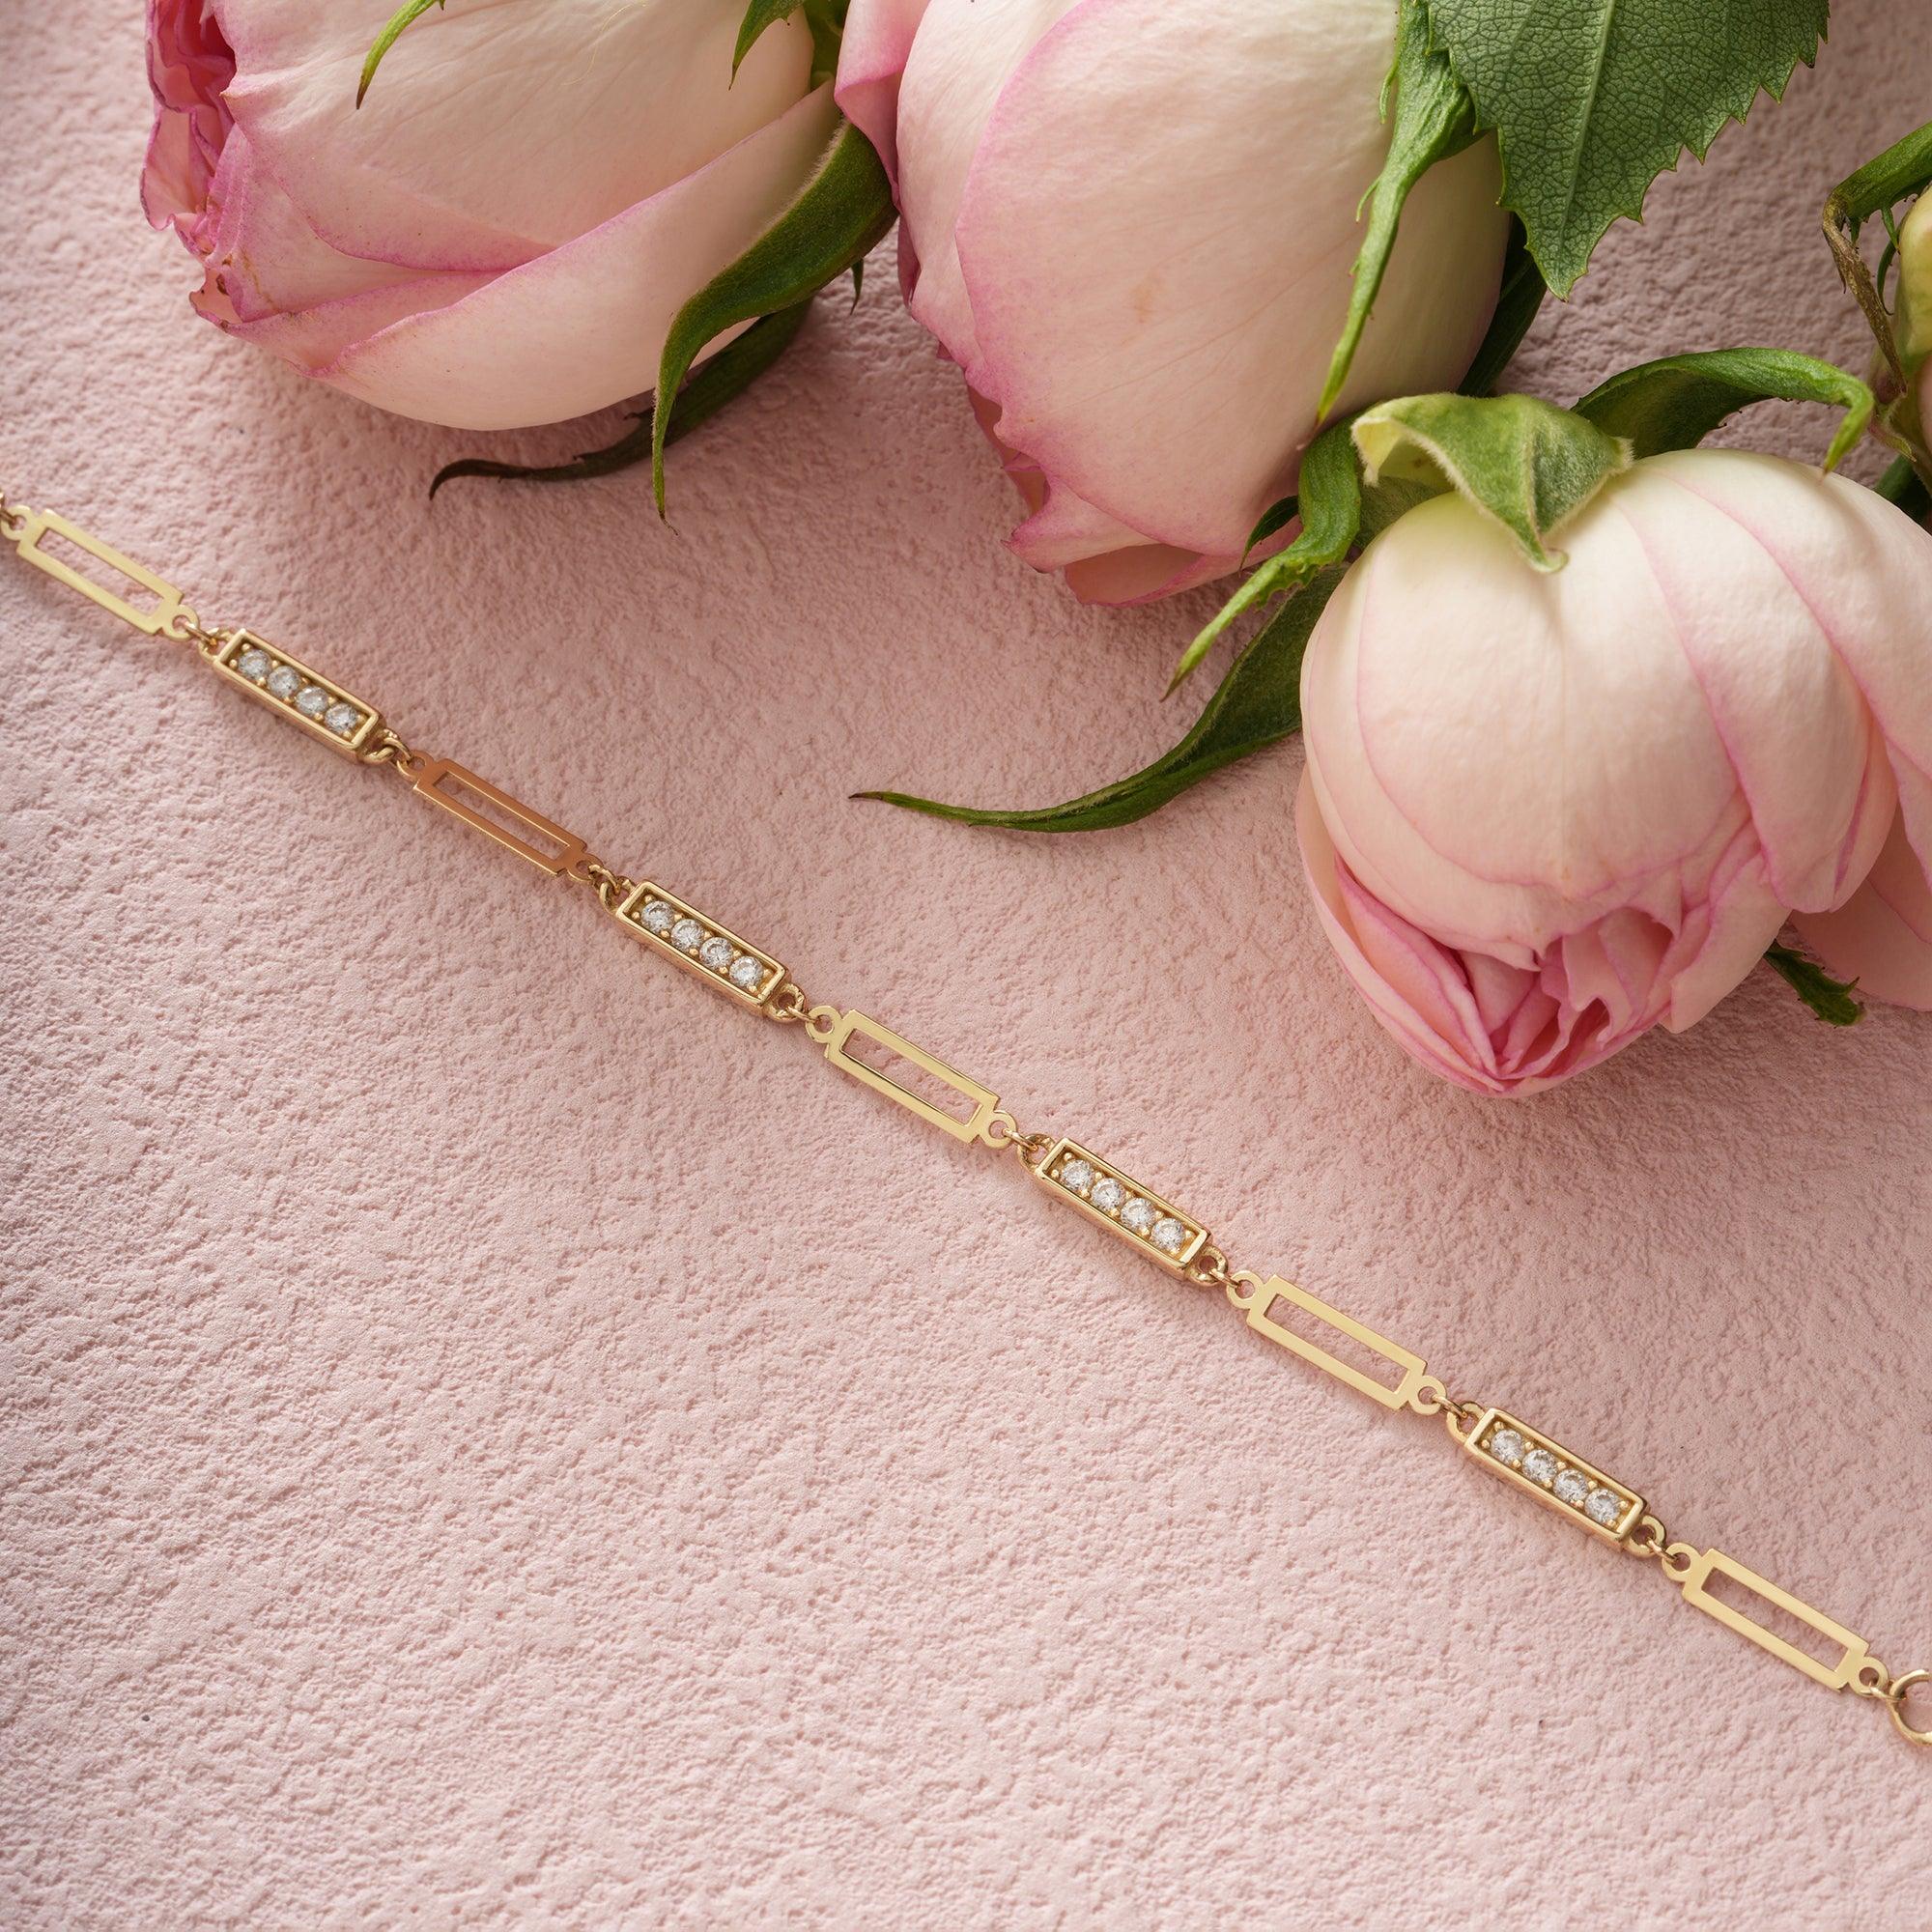
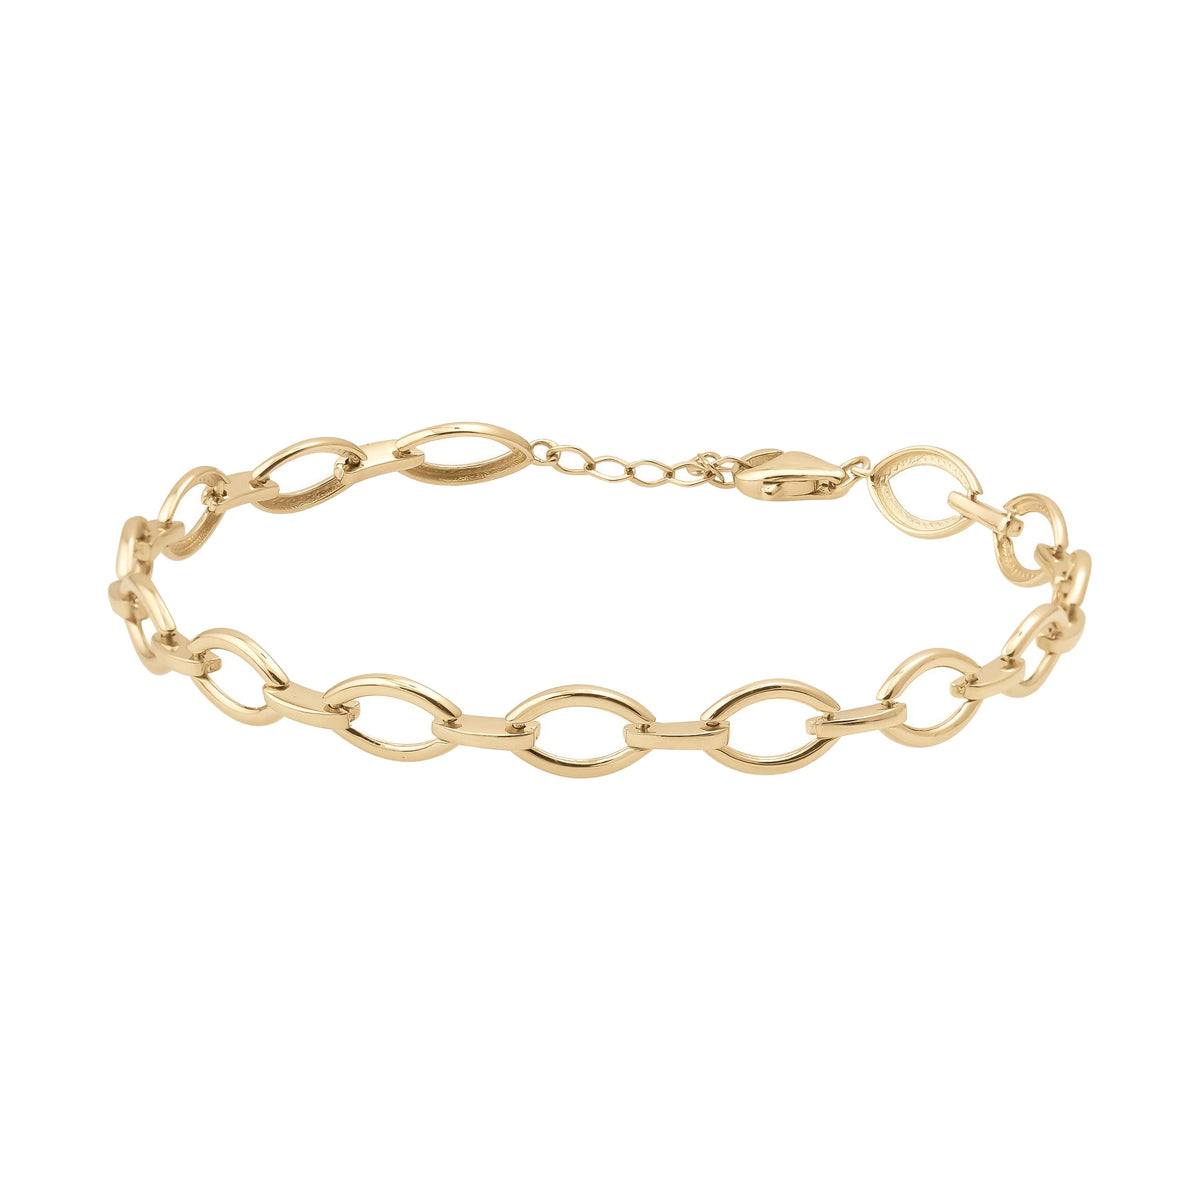
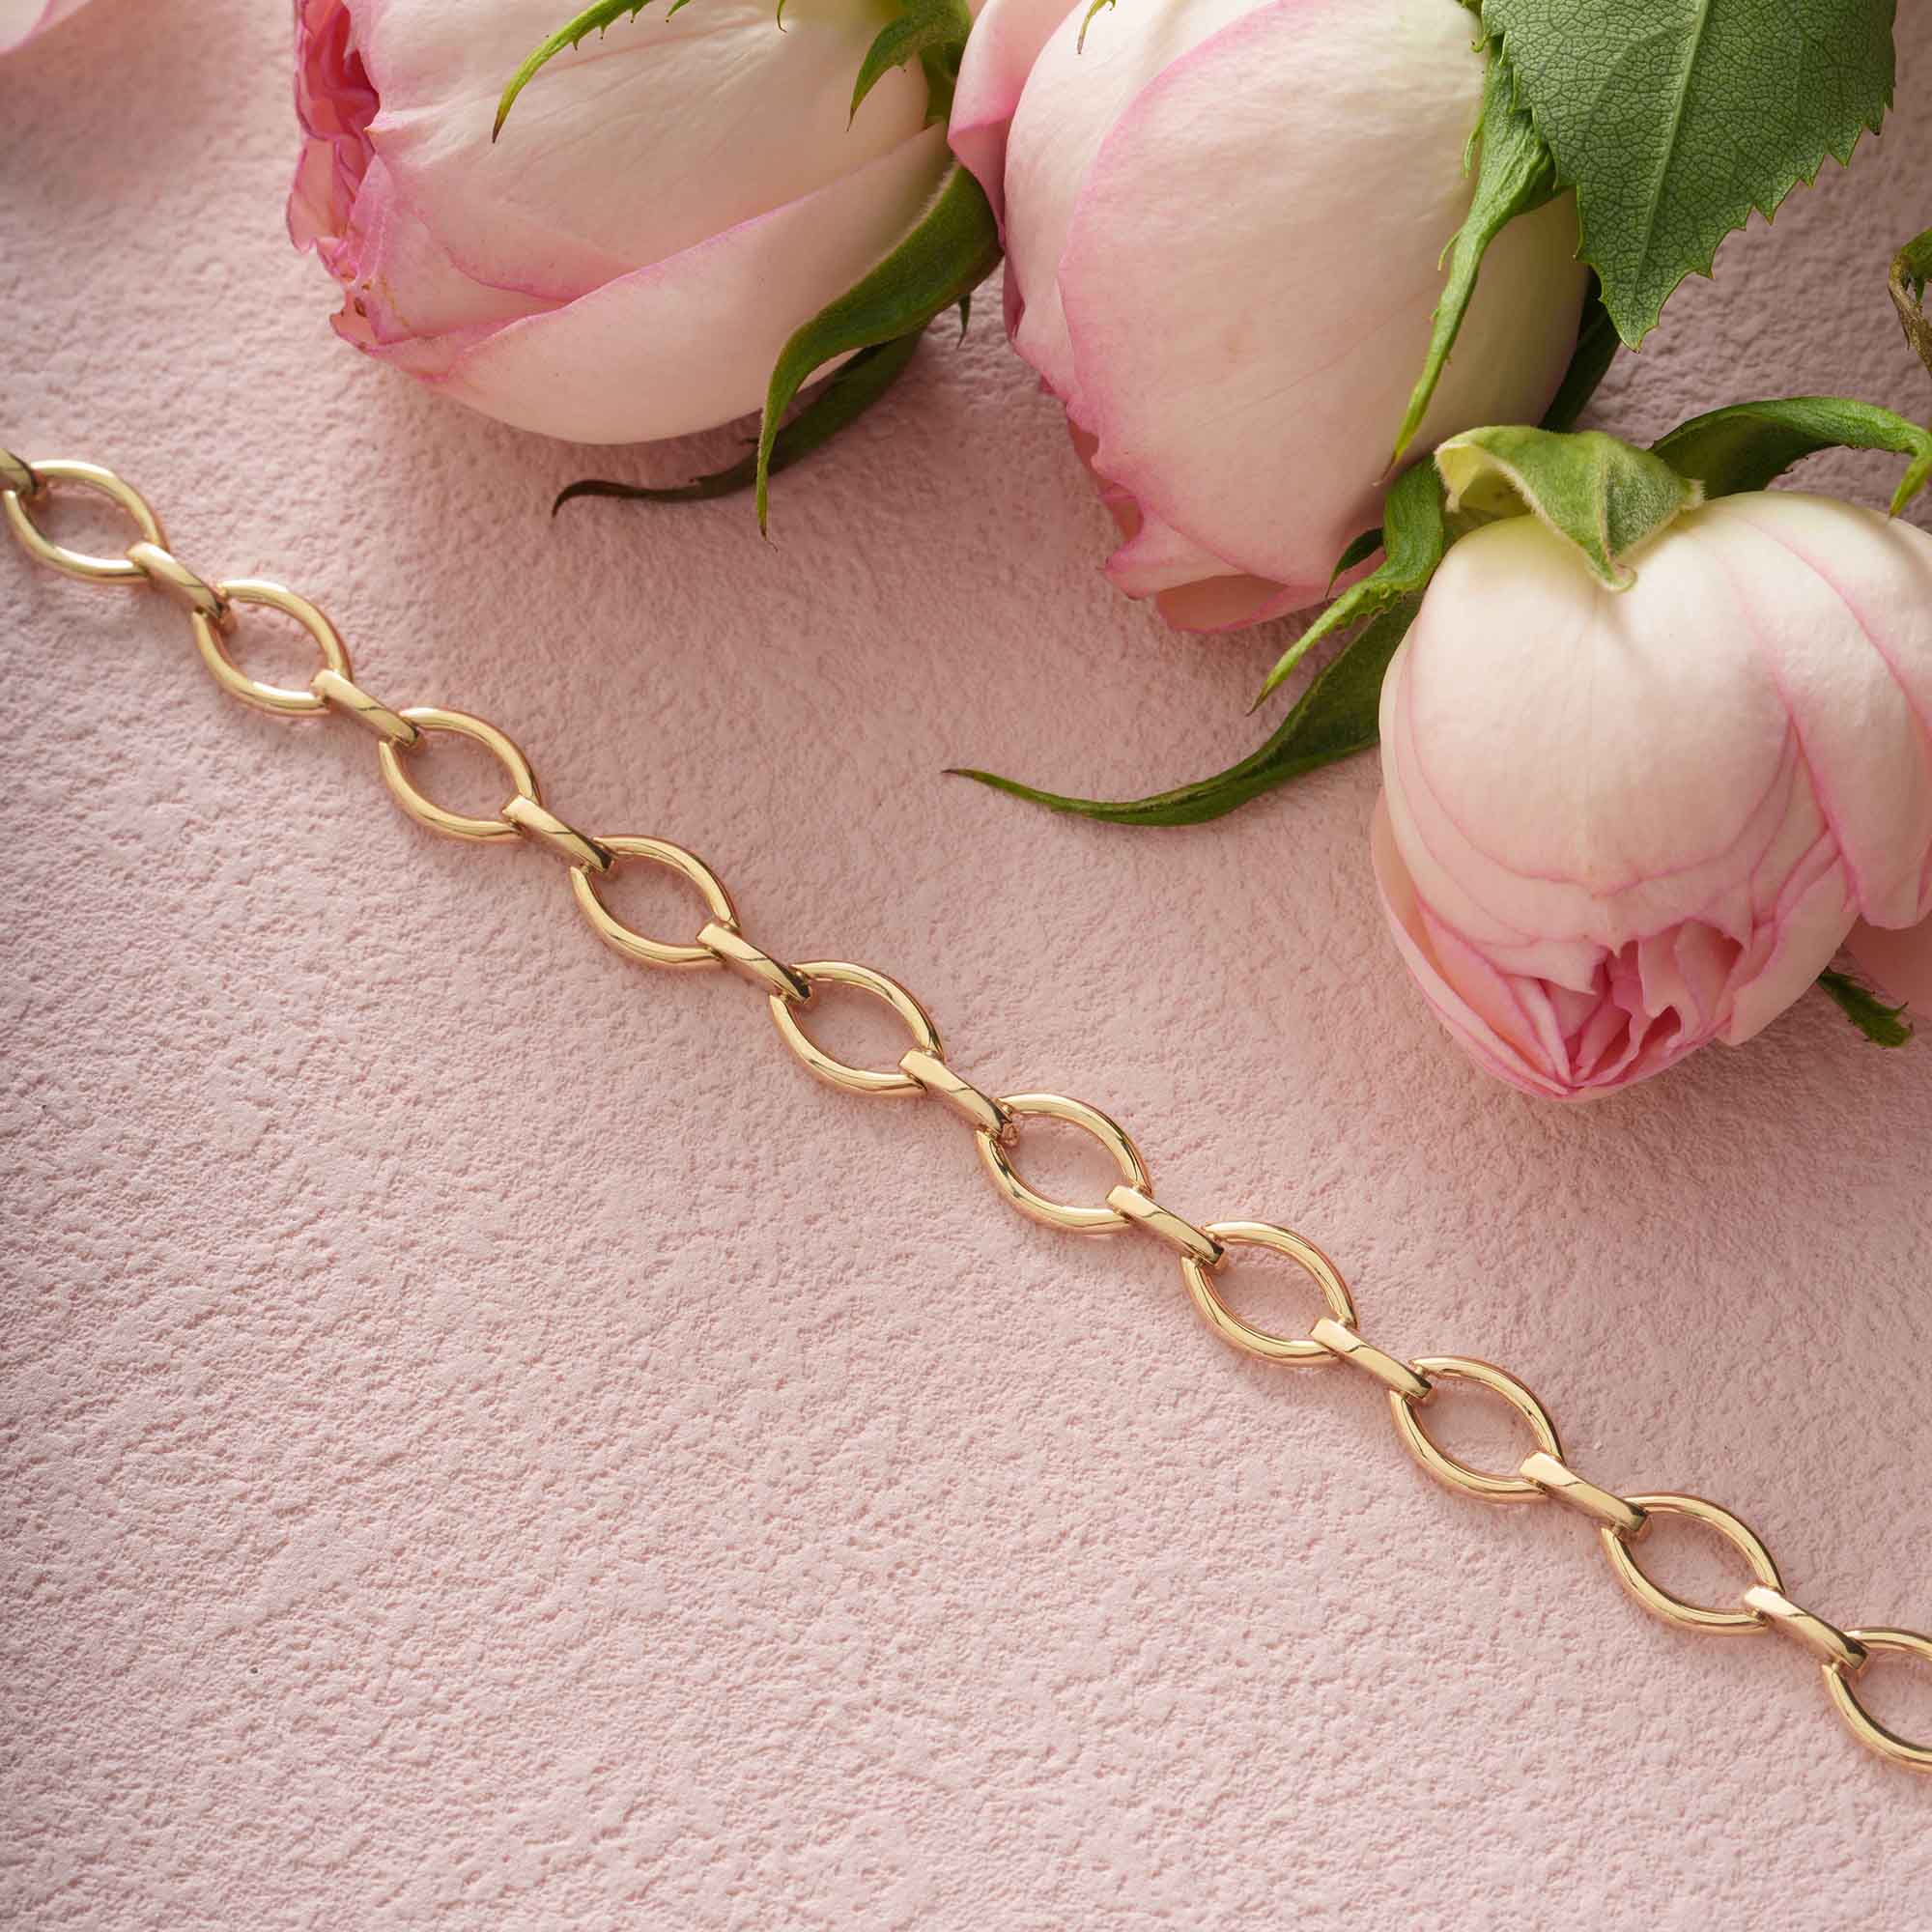
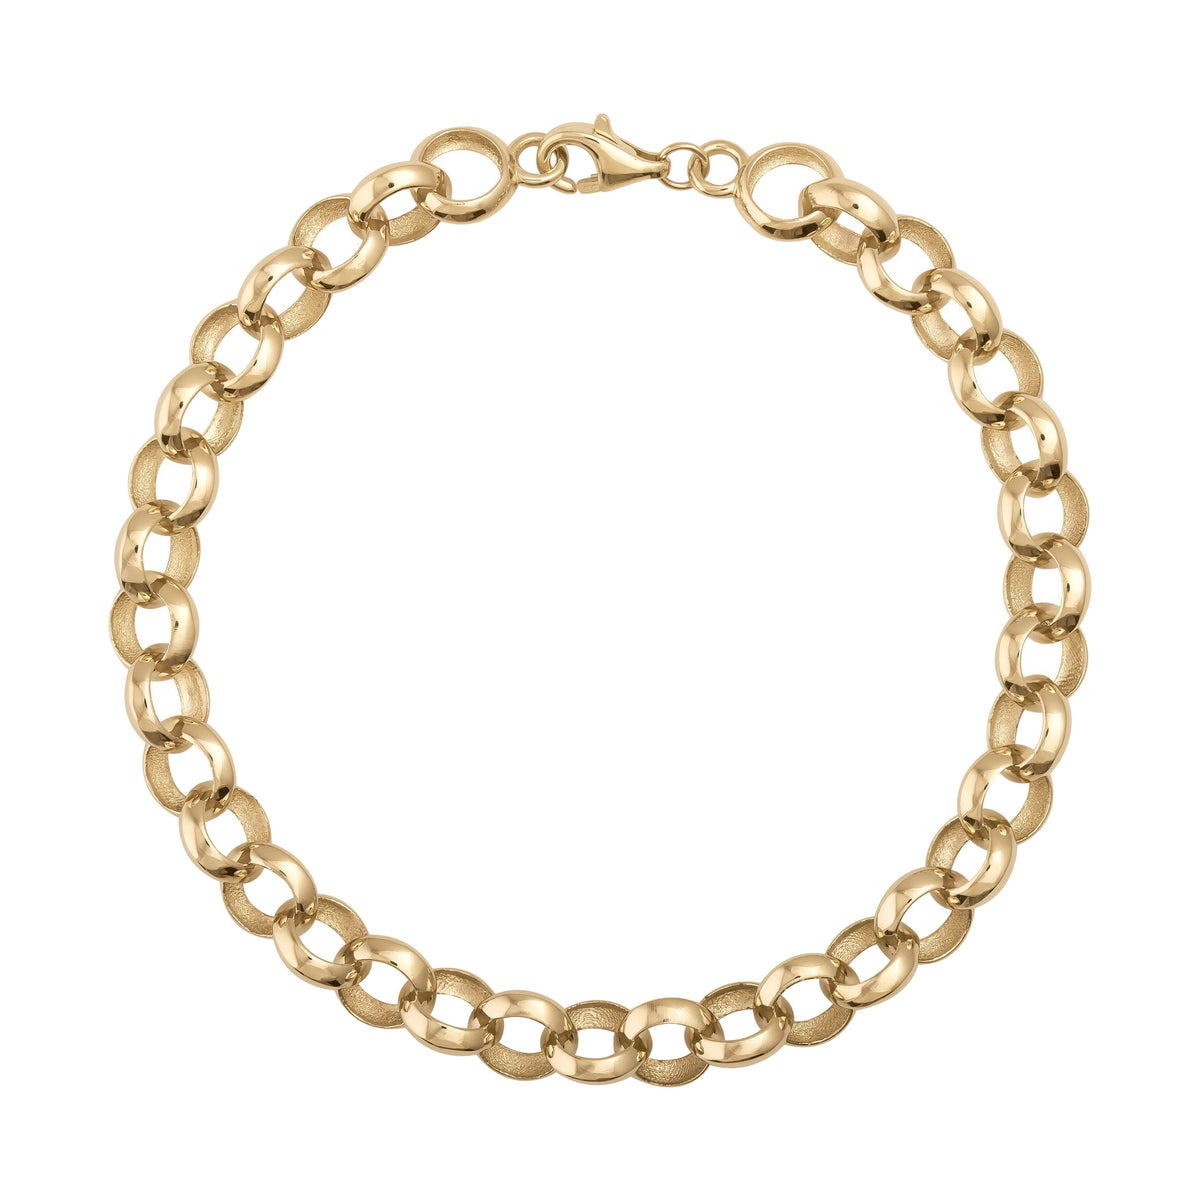
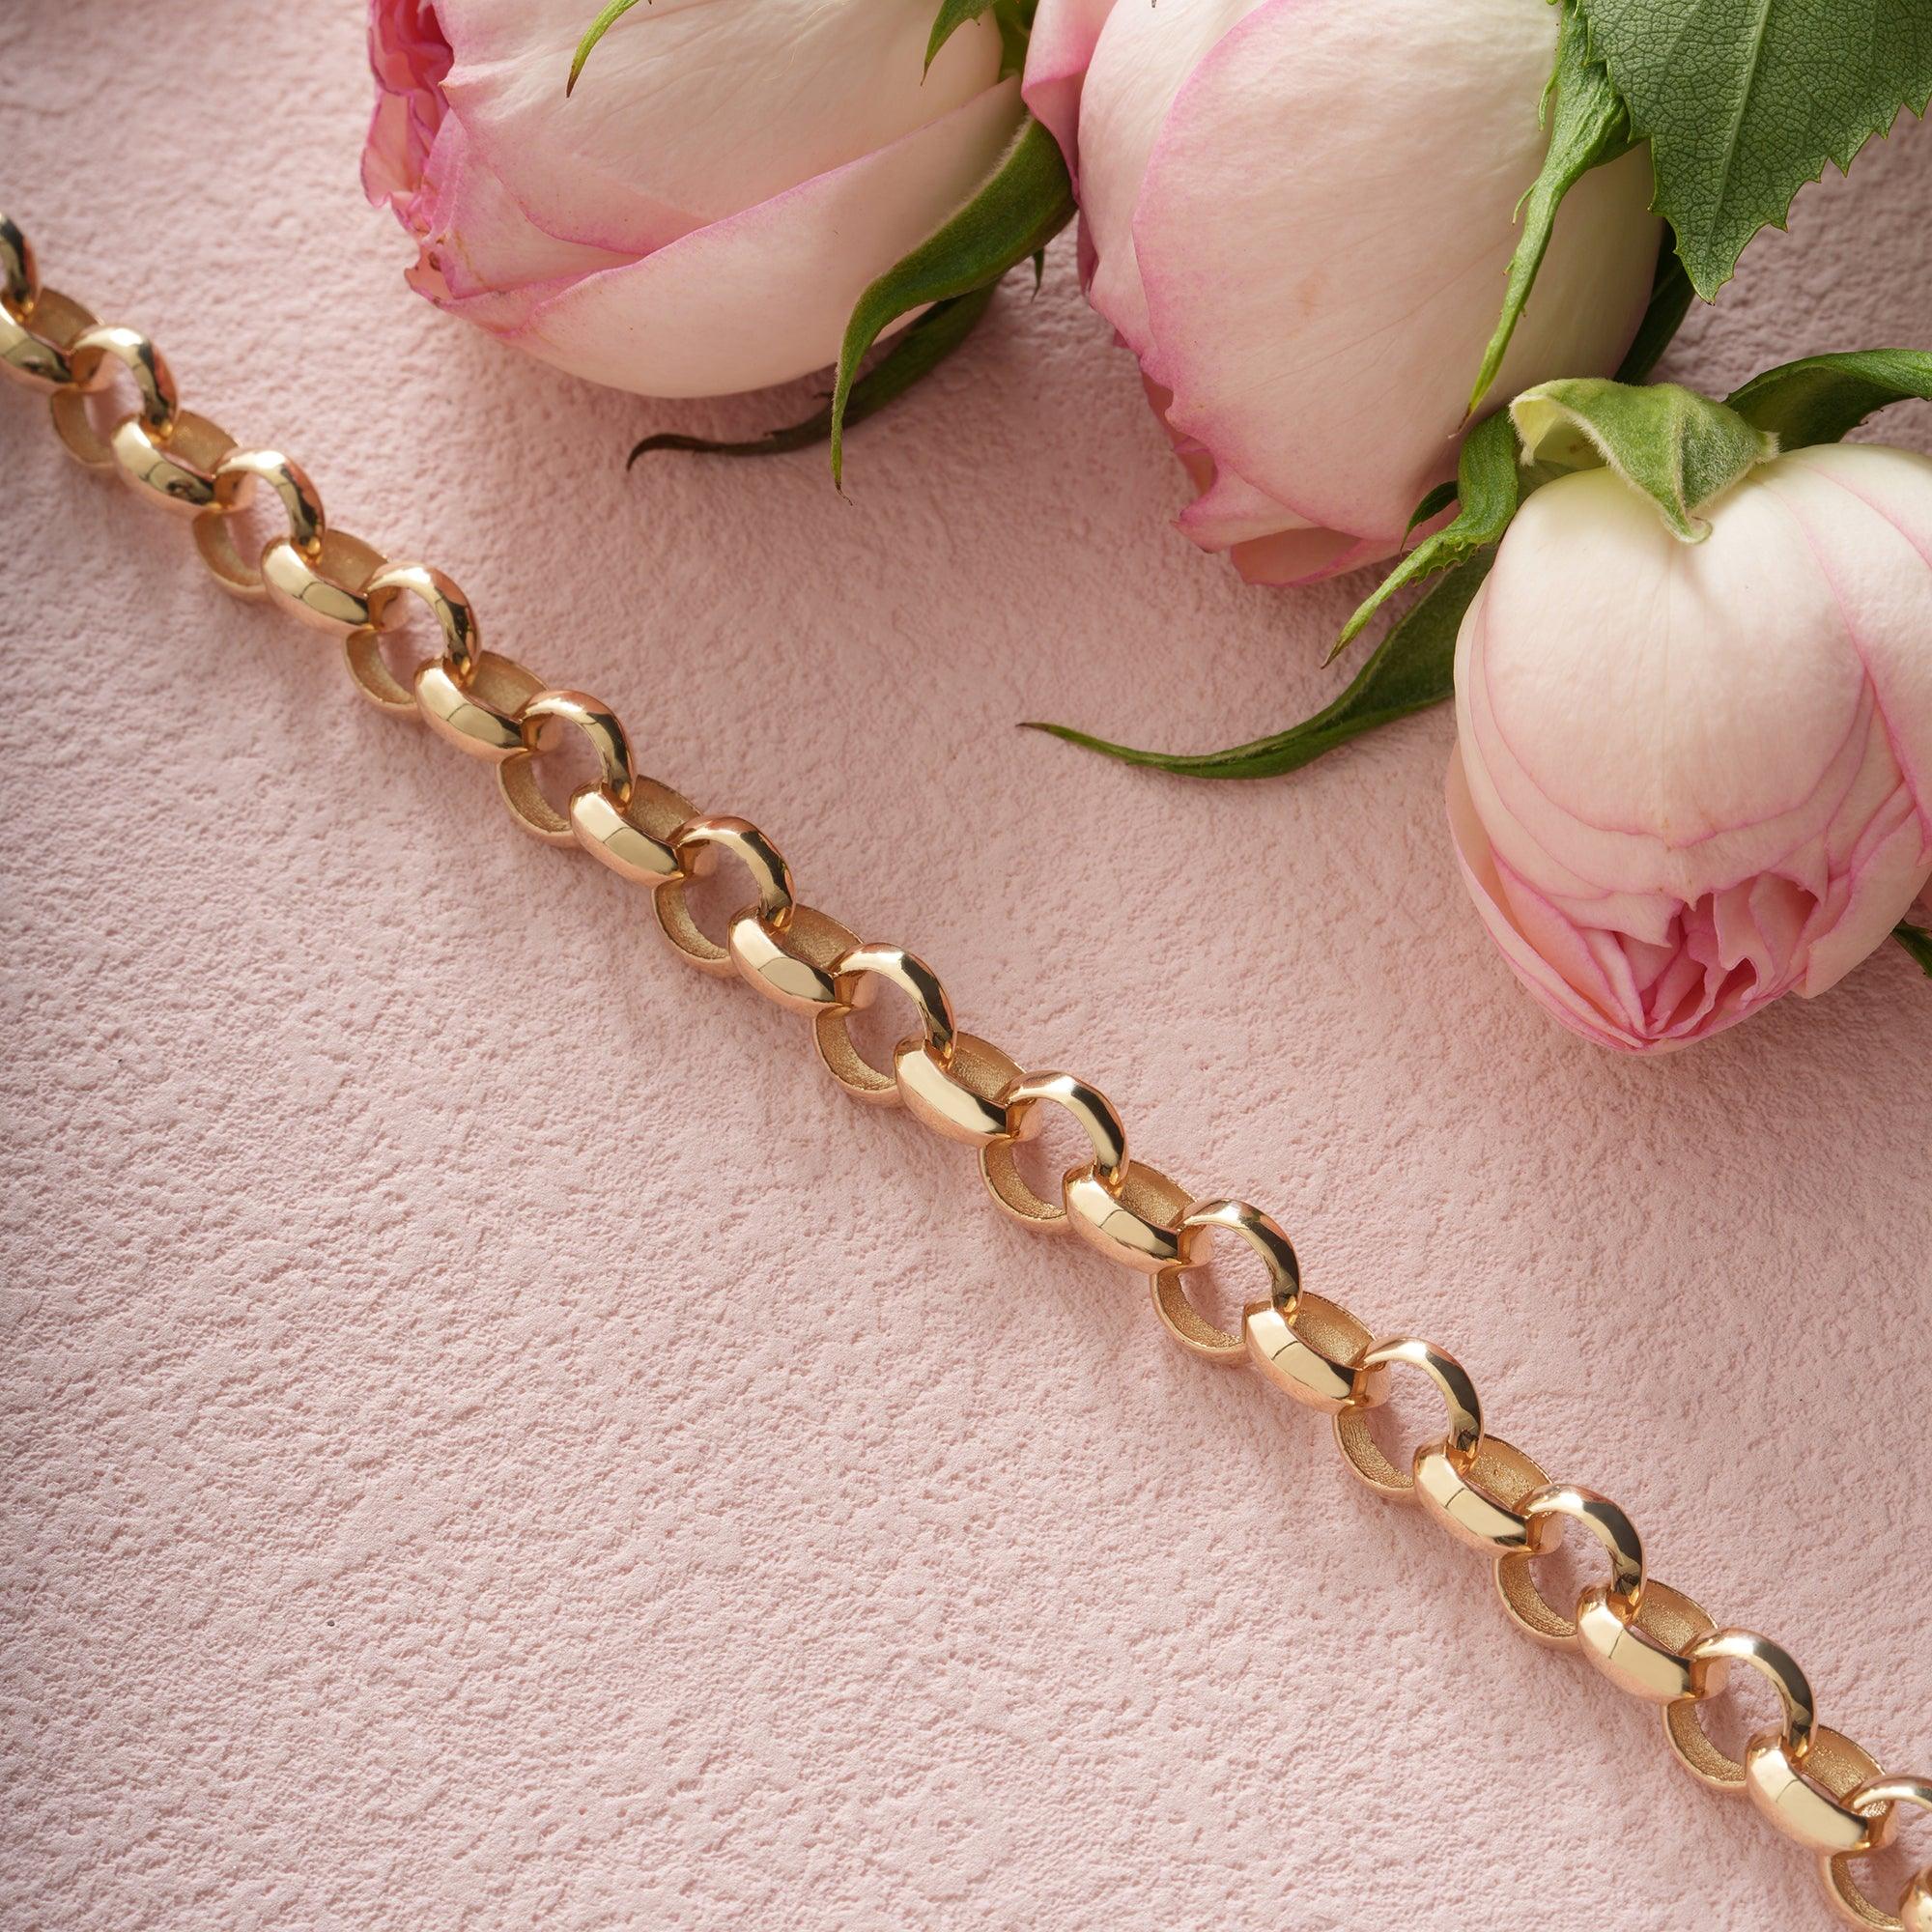
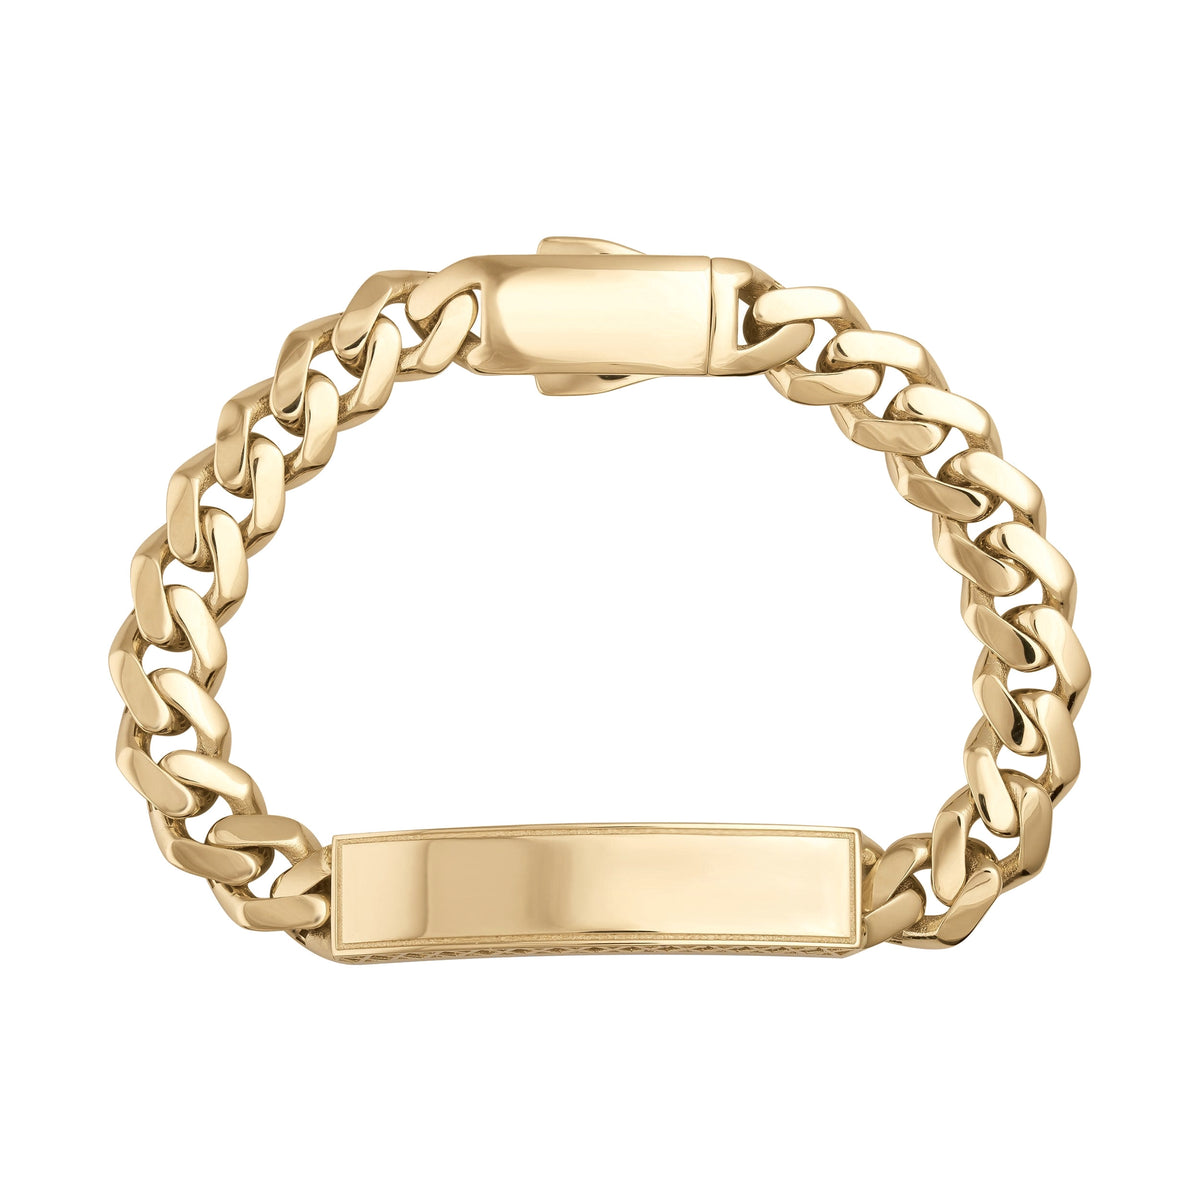
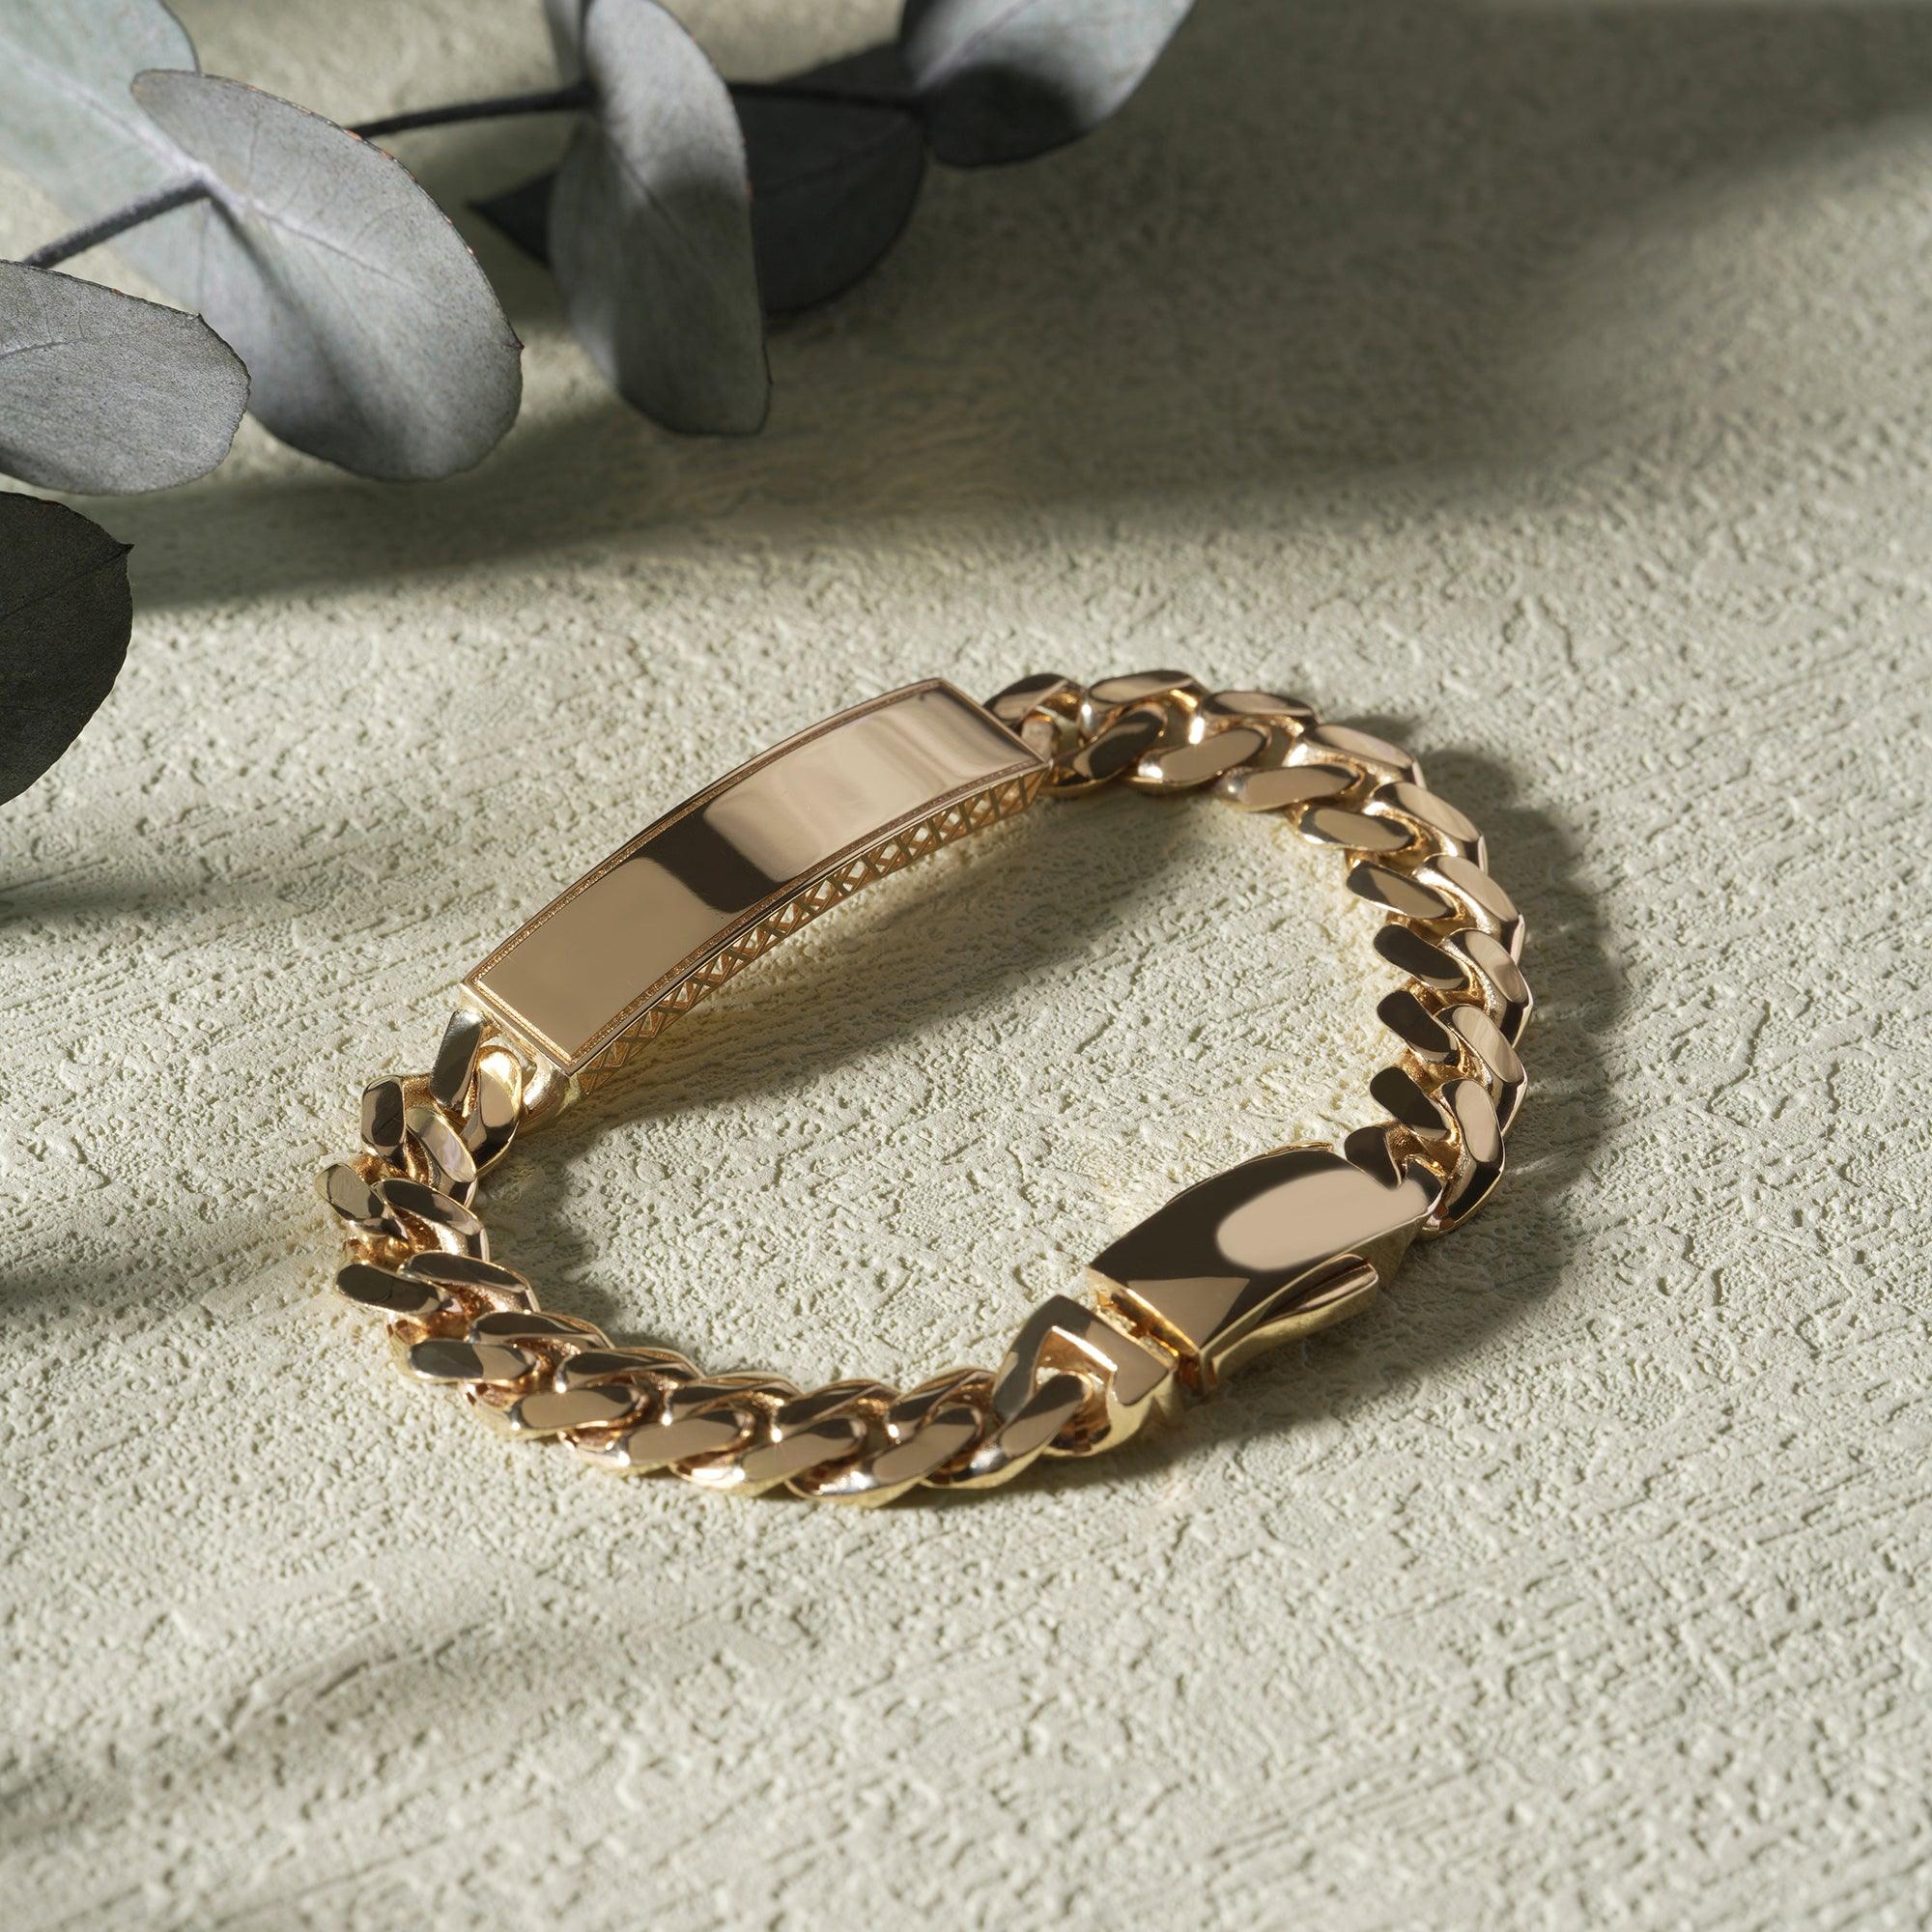
That is where metal comes in. Solid 14K gold does not fade like dye, and a gold chain bracelet keeps its shape for years with basic care. Many makers keep a string band for play and a gold piece for everyday. If you plan to wear gold, our guide on how to clean 14K gold jewelry at home covers the simple routine.
Your skills carry over, too. Knowing your wrist size and how a clasp closes makes shopping for any bracelet easier.
Frequently Asked Questions
How do you make a string bracelet step by step?
Cut three strands about 30 inches long and tie them together near the top. Tape the knot down, then braid by crossing the right strand over the middle, then the left over the middle. Stop two inches short of your wrist size and tie a finishing knot.
What kind of string do you use to make bracelets?
Cotton embroidery floss is the most common choice for beginners. Waxed cotton and nylon cord work well for sliding knots and beaded styles. Pick a cord that holds a knot without slipping.
What are some patterns for making 5-string bracelets?
Try a five-strand braid, where you cross the outer strand over two others each time. The candy stripe also works with five strands. Use two or three colors to make the stripes clear.
What are the bracelets called that you make with string?
Most people call them friendship bracelets or thread bracelets. Knotted versions are also known as embroidery floss bracelets. The braided style is often just called a string bracelet.
How long should each string be?
For a simple braid, 30 inches per strand is a safe start. Knotted patterns use more cord, so cut 32 to 36 inches. Extra length is easy to trim, but a short strand cannot be fixed.
The Bottom Line
String bracelet making needs little more than floss, scissors, and some patience. Start with the three-strand braid, add a sliding knot, and size the band to your wrist. When you are ready for a piece that lasts, browse our 14K Gold Bracelets collection.






Share:
Meaning of Ring on Each Finger Man: A Simple Guide
Emerald Natural: How to Judge and Spot a Real Emerald