
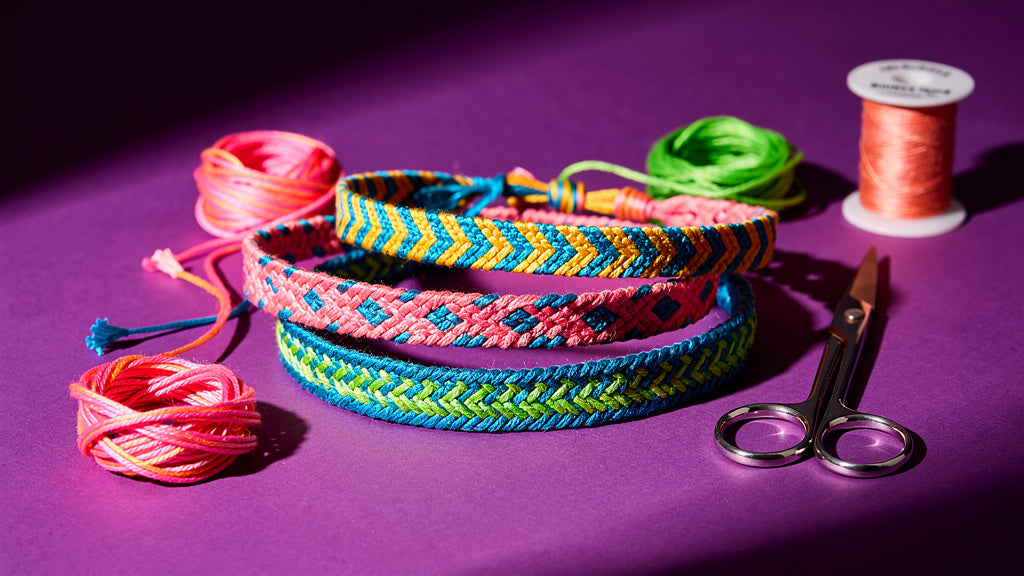
You want to learn how to make a friendship bracelet, and you want it to work on the first try. Good news: the basic version takes about 20 minutes and costs a few dollars. You only need thread, scissors, and a little patience.
This guide starts with the easiest style, then moves to the candy stripe and a beaded version. You will also learn how to size the bracelet and how to wear it next to fine jewelry.
- A three-strand braid is the fastest start, and a candy stripe is the best first knotted pattern.
- Cut your strands longer than you think you need. Too short is the most common beginner mistake.
- Measure your wrist first, then add a little extra for the tie-off.
What You Need
Most friendship bracelets use embroidery floss. It comes in hundreds of colors and costs very little. Each skein has six thin strands, and you can use them together or split them.
Here is the short shopping list:
- Embroidery floss in two to four colors
- Sharp scissors
- Masking tape or a safety pin to hold your work
- A clipboard or a firm pillow (optional, but it helps a lot)
- Pony beads or small beads with large holes (optional)
Pick colors that contrast. Beginners can see each knot more clearly when the strands stand apart.
Size and Thread Length
Start with your wrist. Wrap a strip of paper around it, mark the spot, and measure the strip. Our wrist measuring guide shows the full method.
Add about one inch for comfort. A friendship bracelet should slide a little, not pinch. Then use the table below to cut your thread.
| Style | Strands | Cut each strand | Skill level |
|---|---|---|---|
| Three-strand braid | 3 | About 18 inches | Beginner |
| Candy stripe | 4 to 6 | About 30 to 36 inches | Beginner |
| Chevron | 6 to 8 | About 36 to 40 inches | Intermediate |
| Beaded braid | 3 | About 20 inches | Beginner |
Knotted styles use up thread fast. Each knot wraps one strand around another, so the working strand shrinks quickly. When in doubt, cut more.
How to Make a Friendship Bracelet: The Easy Braid
This is the simplest way to make a friendship bracelet. It is also the one most kids learn first.
- Cut three strands, each about 18 inches long. Use one color or three.
- Line them up and tie an overhand knot about three inches from the top.
- Tape the knot to a table or clipboard so it stays still.
- Braid the strands: left over middle, then right over middle. Repeat.
- Keep the tension even. Pull gently, not hard.
- Stop when the braid fits your wrist. Tie another knot at the end.
- Trim the tails to about an inch, or leave them long to tie on.
To wear it, tie the two ends together around your wrist. A second person makes this step easier. You can also make a loop at one end and slip the other end through.

Step-by-Step: The Candy Stripe
The candy stripe is the classic diagonal pattern. It uses one knot, the forward knot, repeated many times. Once your hands learn it, you can make a bracelet while watching a show.
- Cut four strands, each about 30 inches long. Use two colors, two strands of each.
- Knot them together at the top and tape the knot down.
- Fan the strands out. Take the leftmost strand and cross it over the next one so it forms a number 4 shape.
- Tuck the working strand under and through the loop. Pull the knot up snug.
- Make a second knot on the same strand. Two knots count as one full stitch.
- Move to the next strand and repeat across the row.
- Always start from the left. The stripes form on their own.
Your first inches may look uneven. That is normal. By the third row, the pattern settles in.
Common Problems and Quick Fixes
Every beginner hits the same few snags. The good news is that each one has a simple fix.
- The bracelet curls or twists. You are likely pulling some knots tighter than others. Relax your grip and keep the pull the same each time.
- One color takes over. Check which strand you start each row with. In a candy stripe, the leftmost strand always leads.
- The thread tangles. Tape the strands in order, and comb them with your fingers every few rows.
- You ran out of thread. Tie a new strand on with a small knot at the back. Hide the tail under the next few knots.
- The ends fray. Dab a tiny drop of clear glue on each knot and let it dry fully.
Once the candy stripe feels easy, try a chevron or a heart pattern. Both use the same forward knot, plus a backward knot. Only the order of the colors changes.
How to Add Beads
Beads add weight and color. The easiest method is the beaded braid. Thread your beads onto one strand before you start, and push them down out of the way.
As you braid, slide a bead up next to your last cross. Then keep braiding with the beaded strand in place. Space the beads evenly, or cluster them near the center for a focal point.
If you want an easy string bracelet with a stretch fit, use elastic cord instead of floss. Cut about 10 inches, thread on your beads, and tie a surgeon's knot. Pull the cord a few times first so it relaxes. Add a drop of clear glue to the knot and let it dry.
Check the bead hole before you buy. A bead that is too small will not pass over a doubled strand. Plastic string works well for small beads because it is stiff and easy to thread.

How to Wear It with Gold
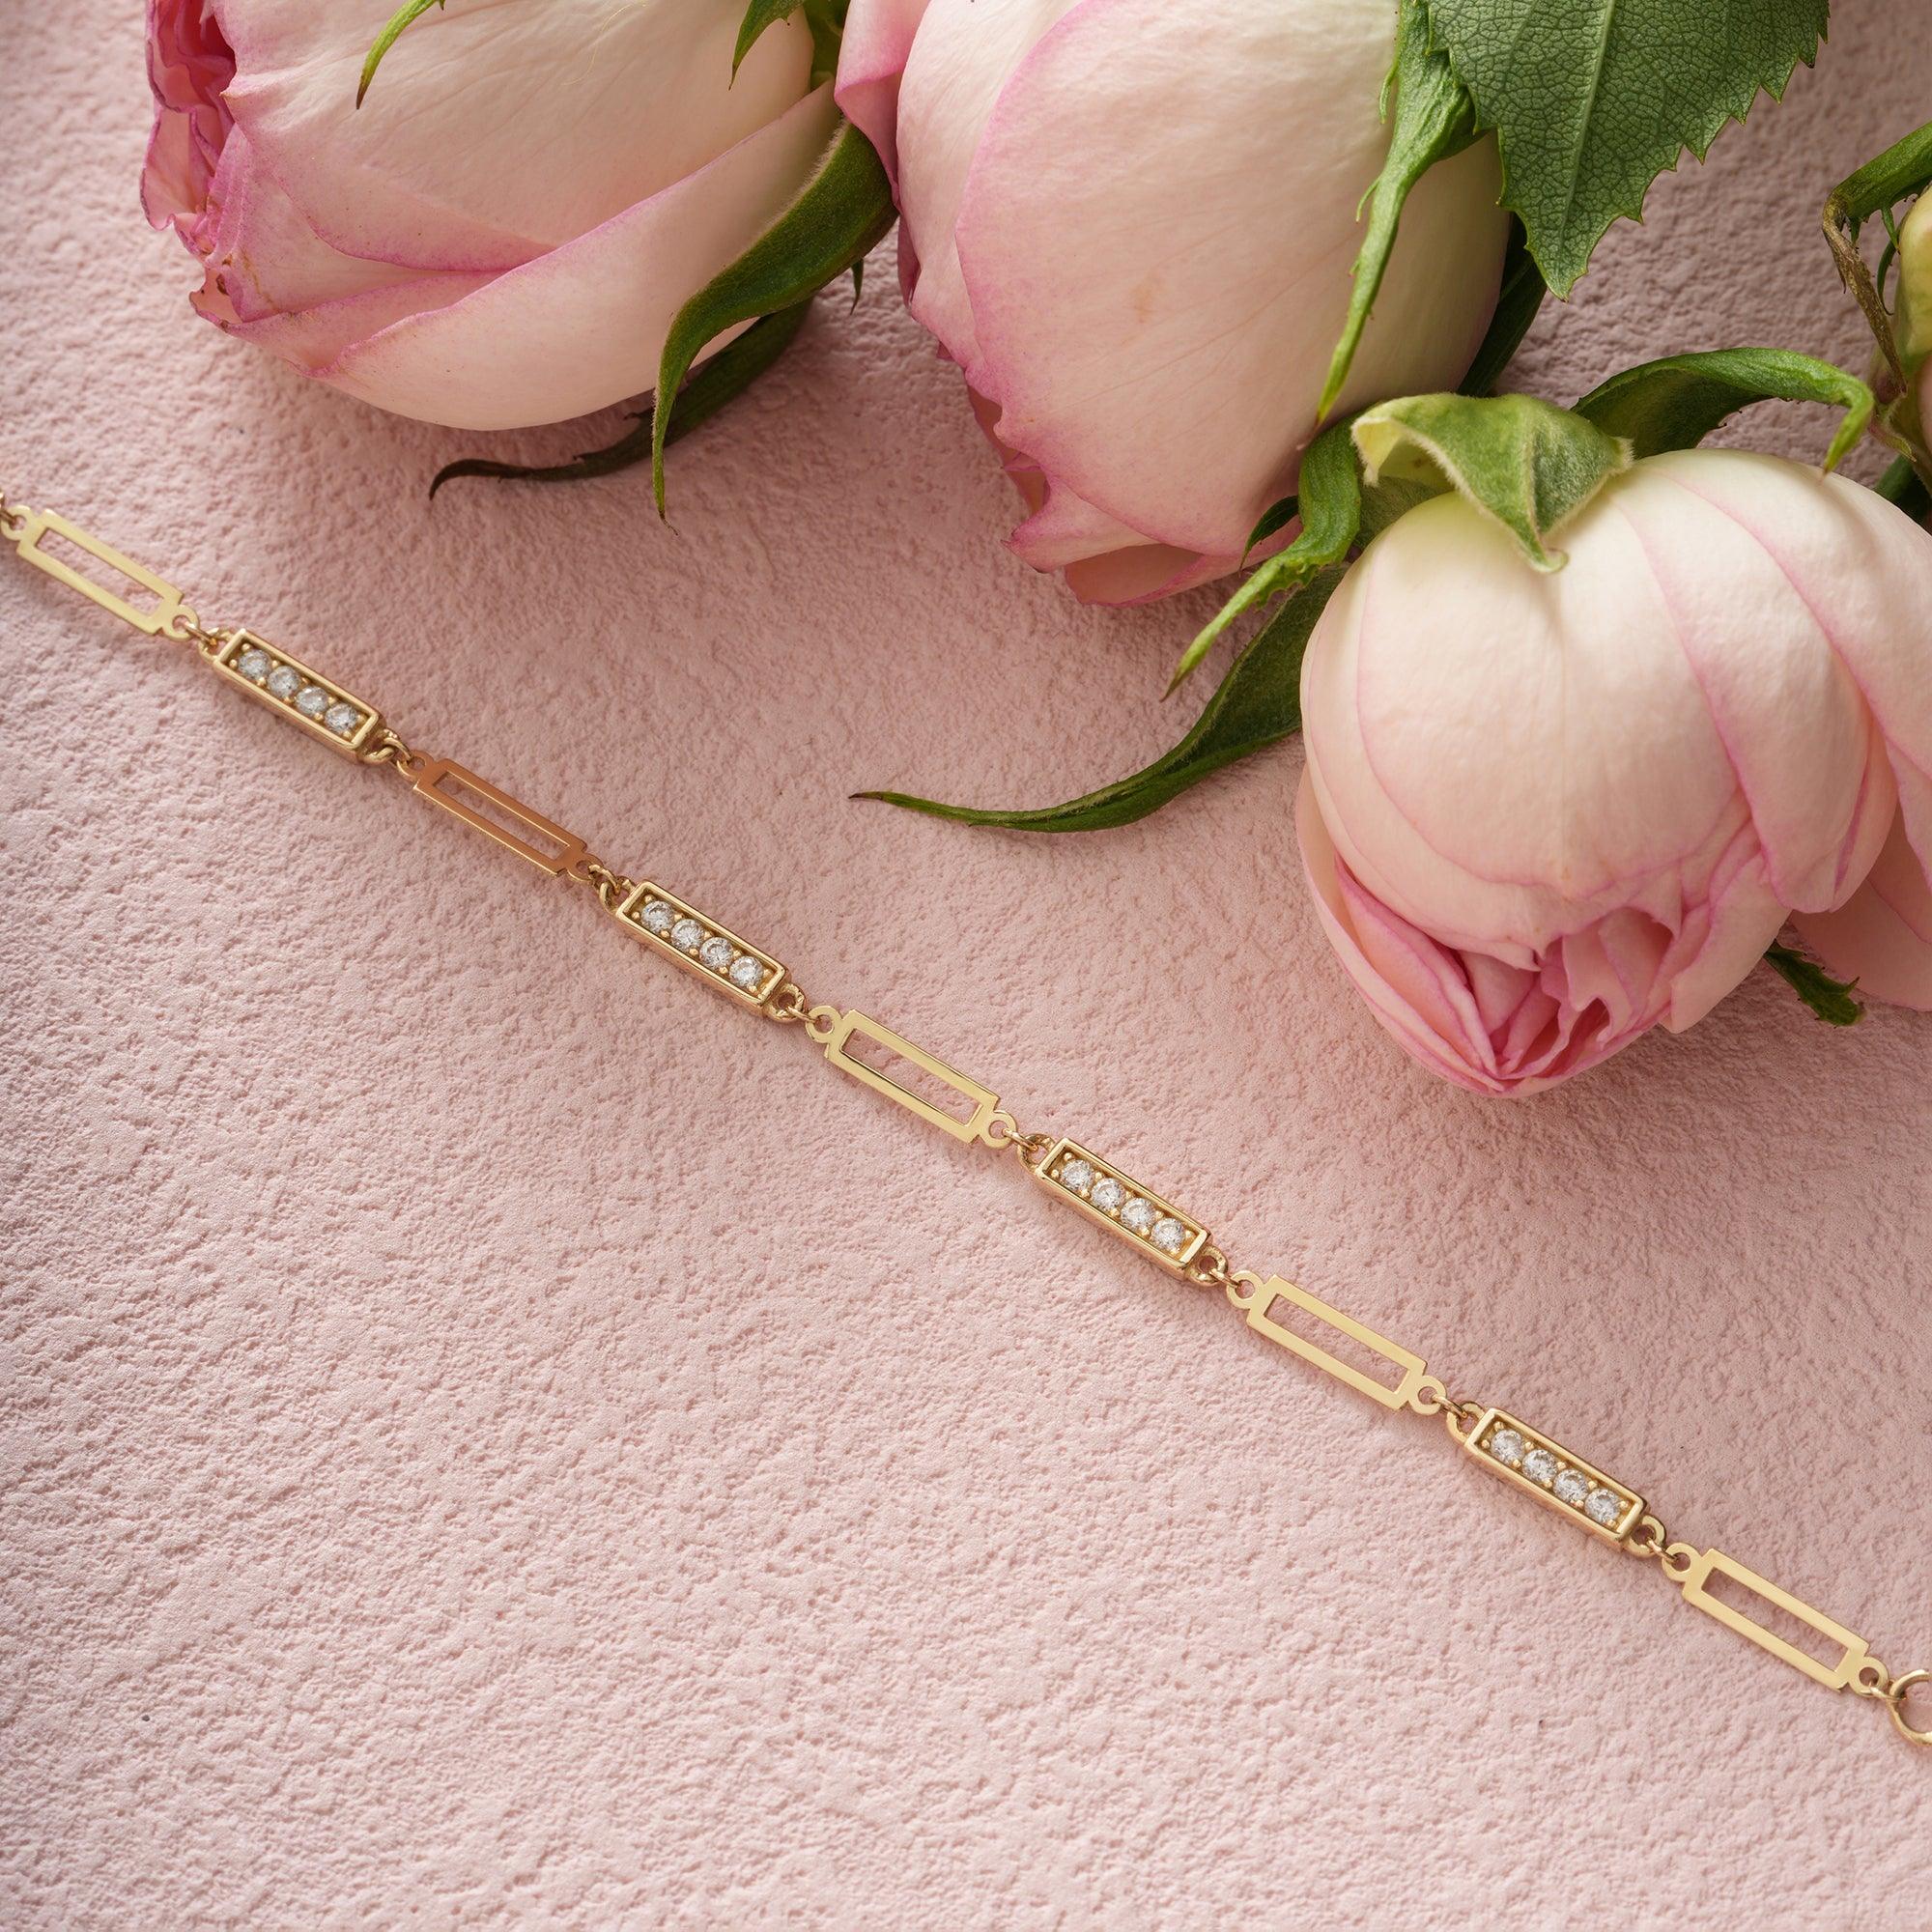
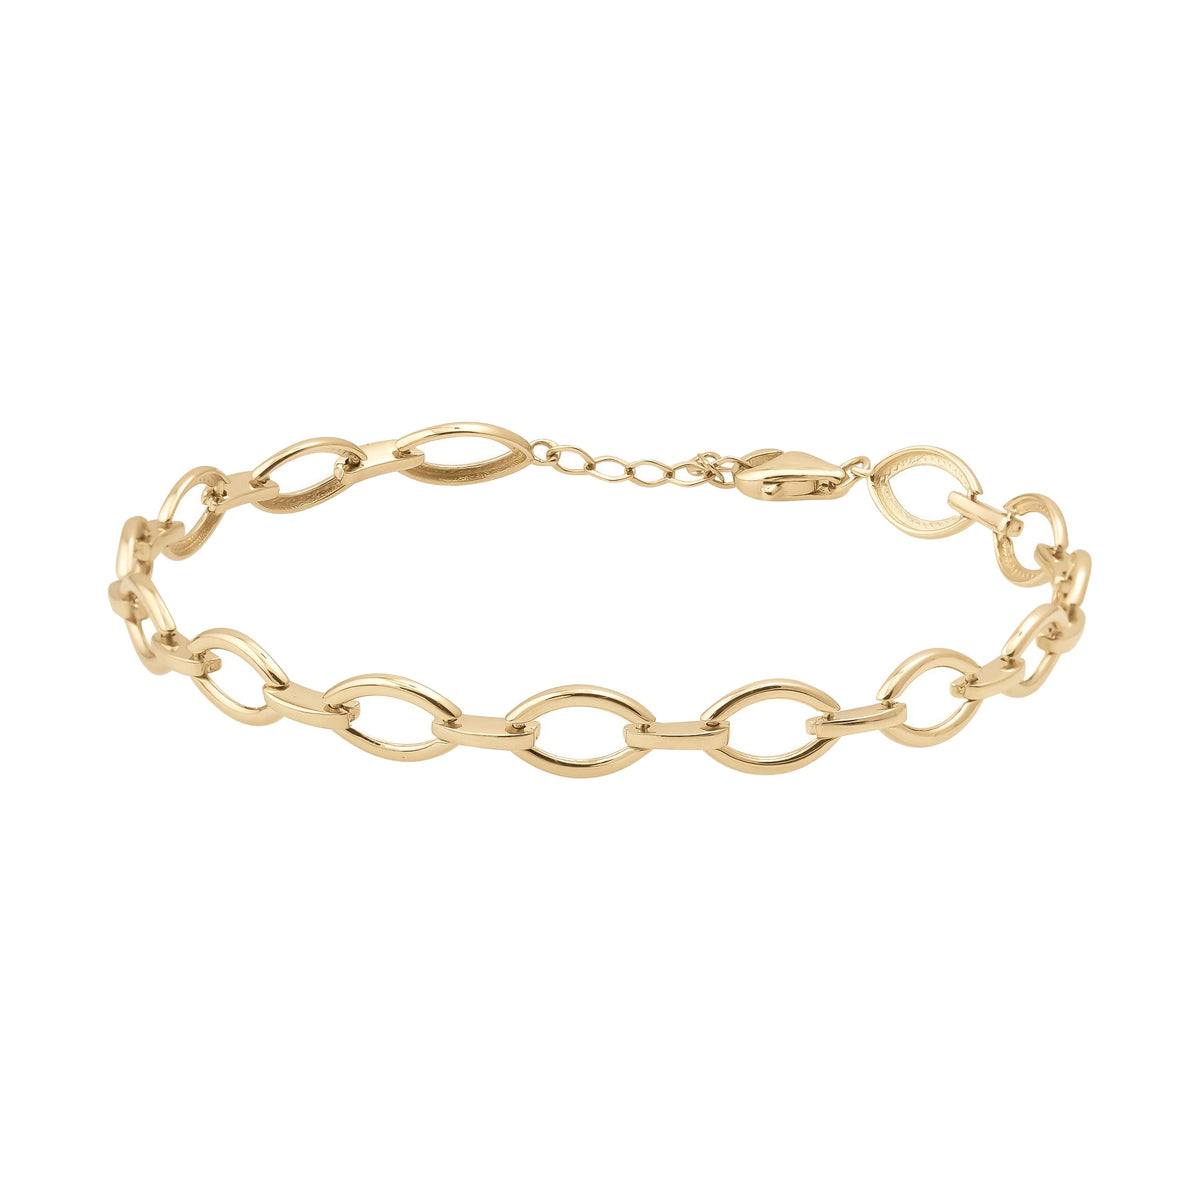
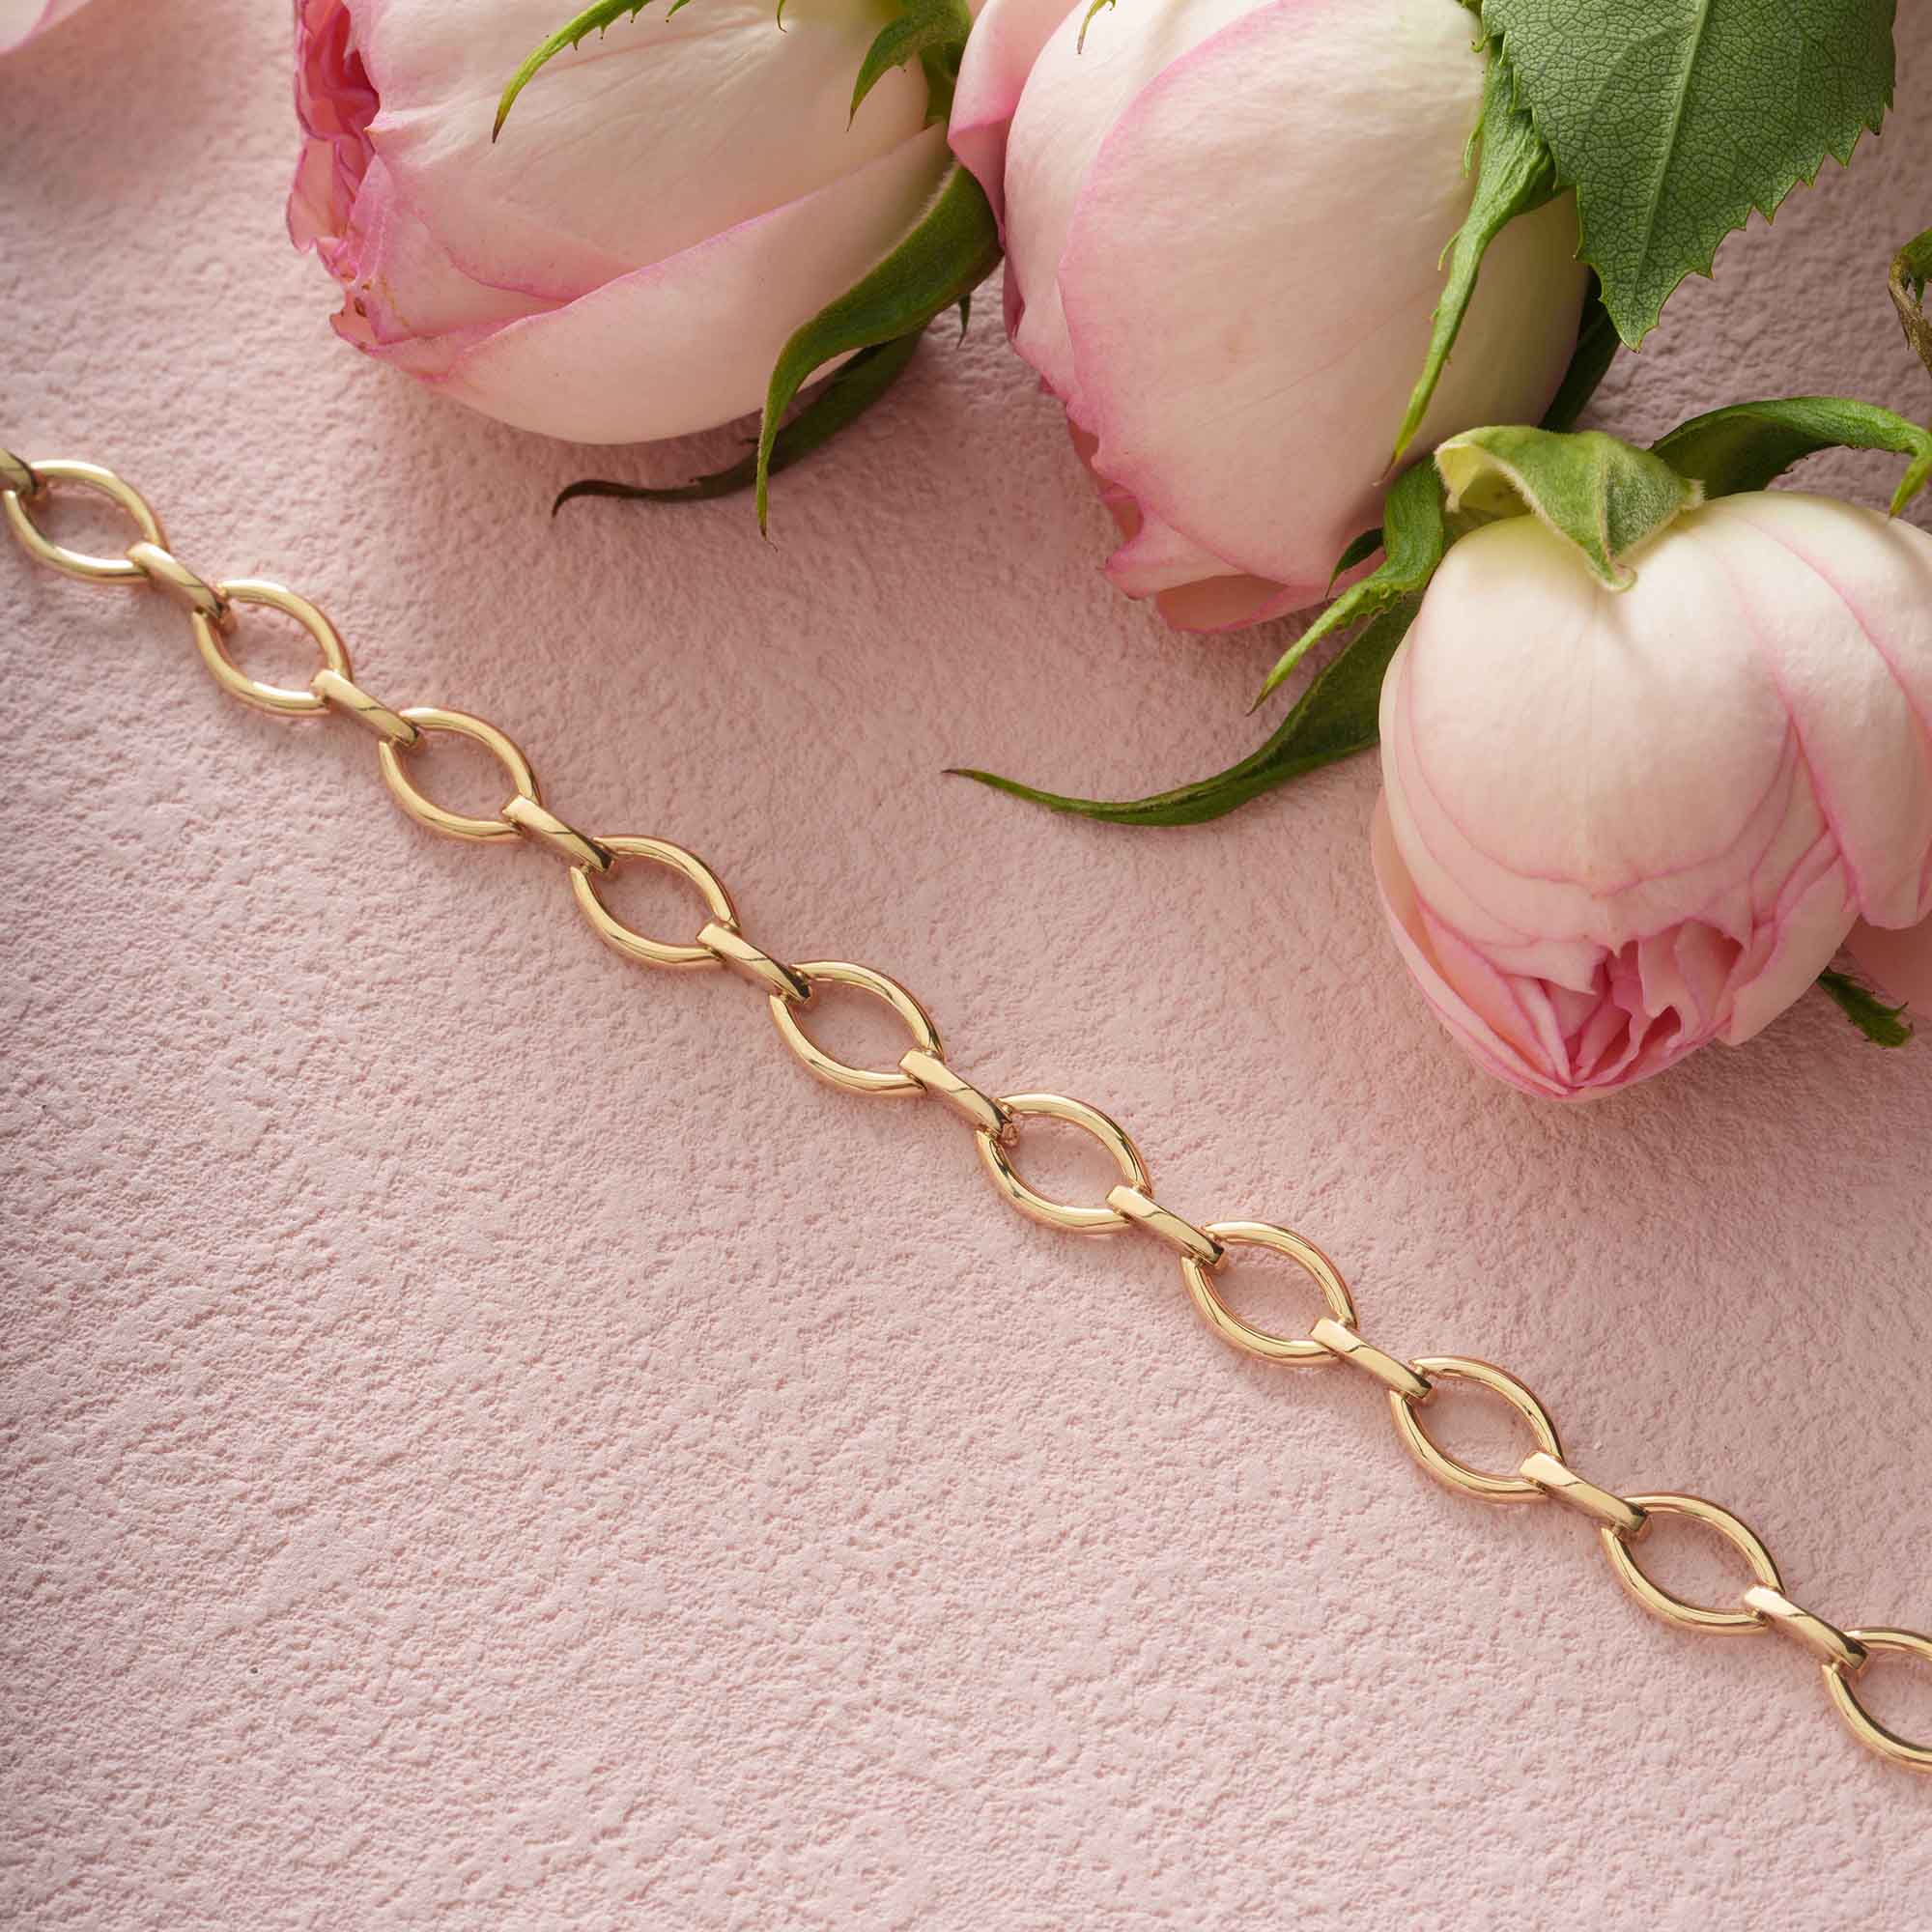
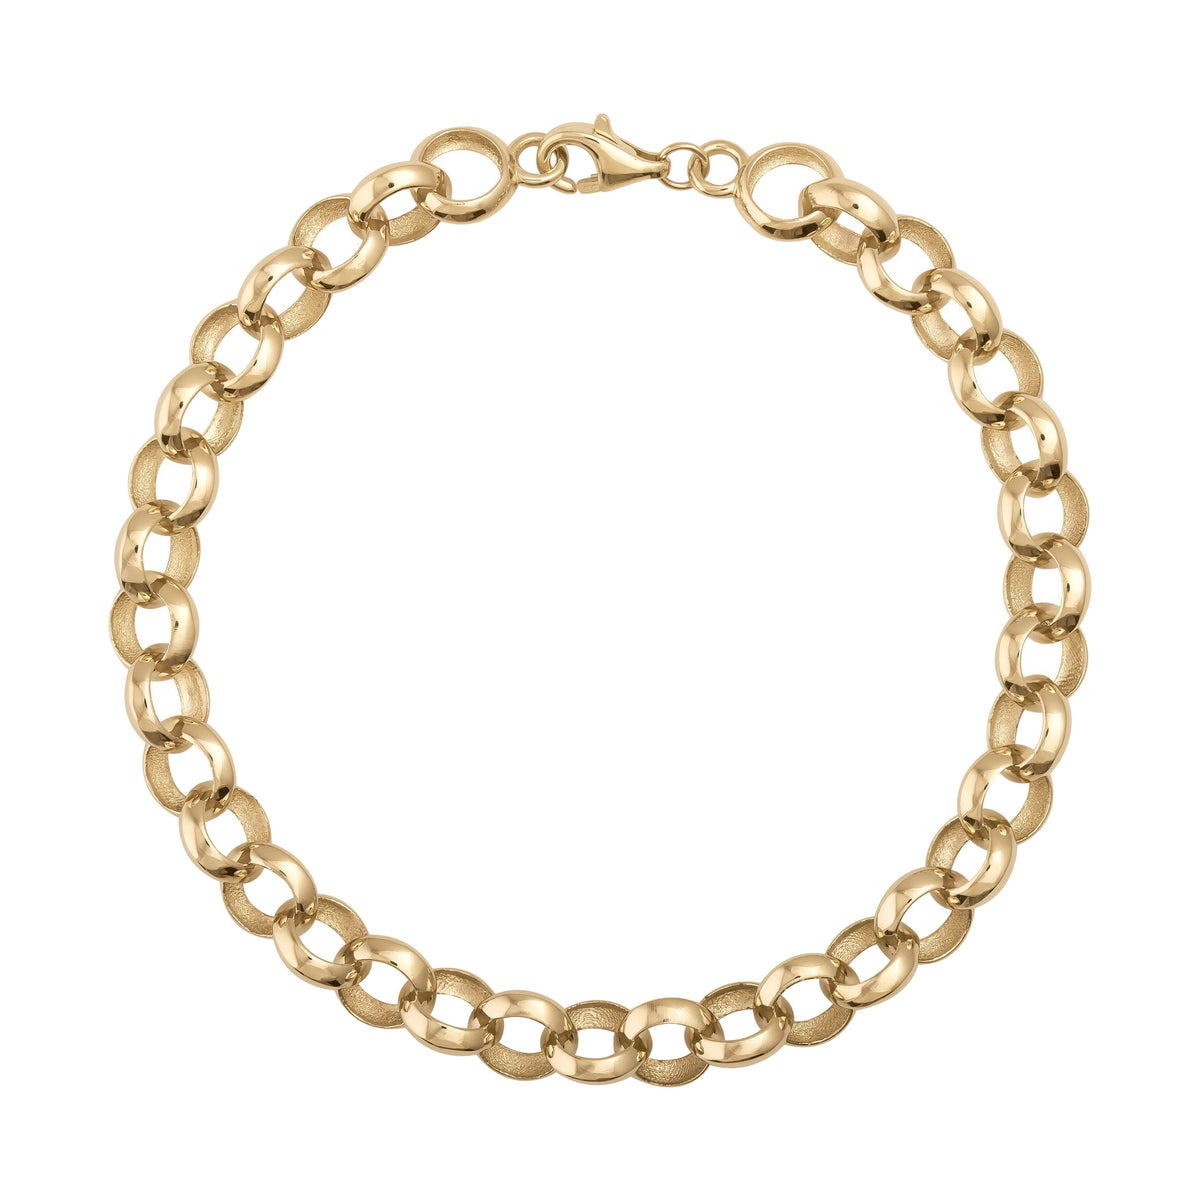
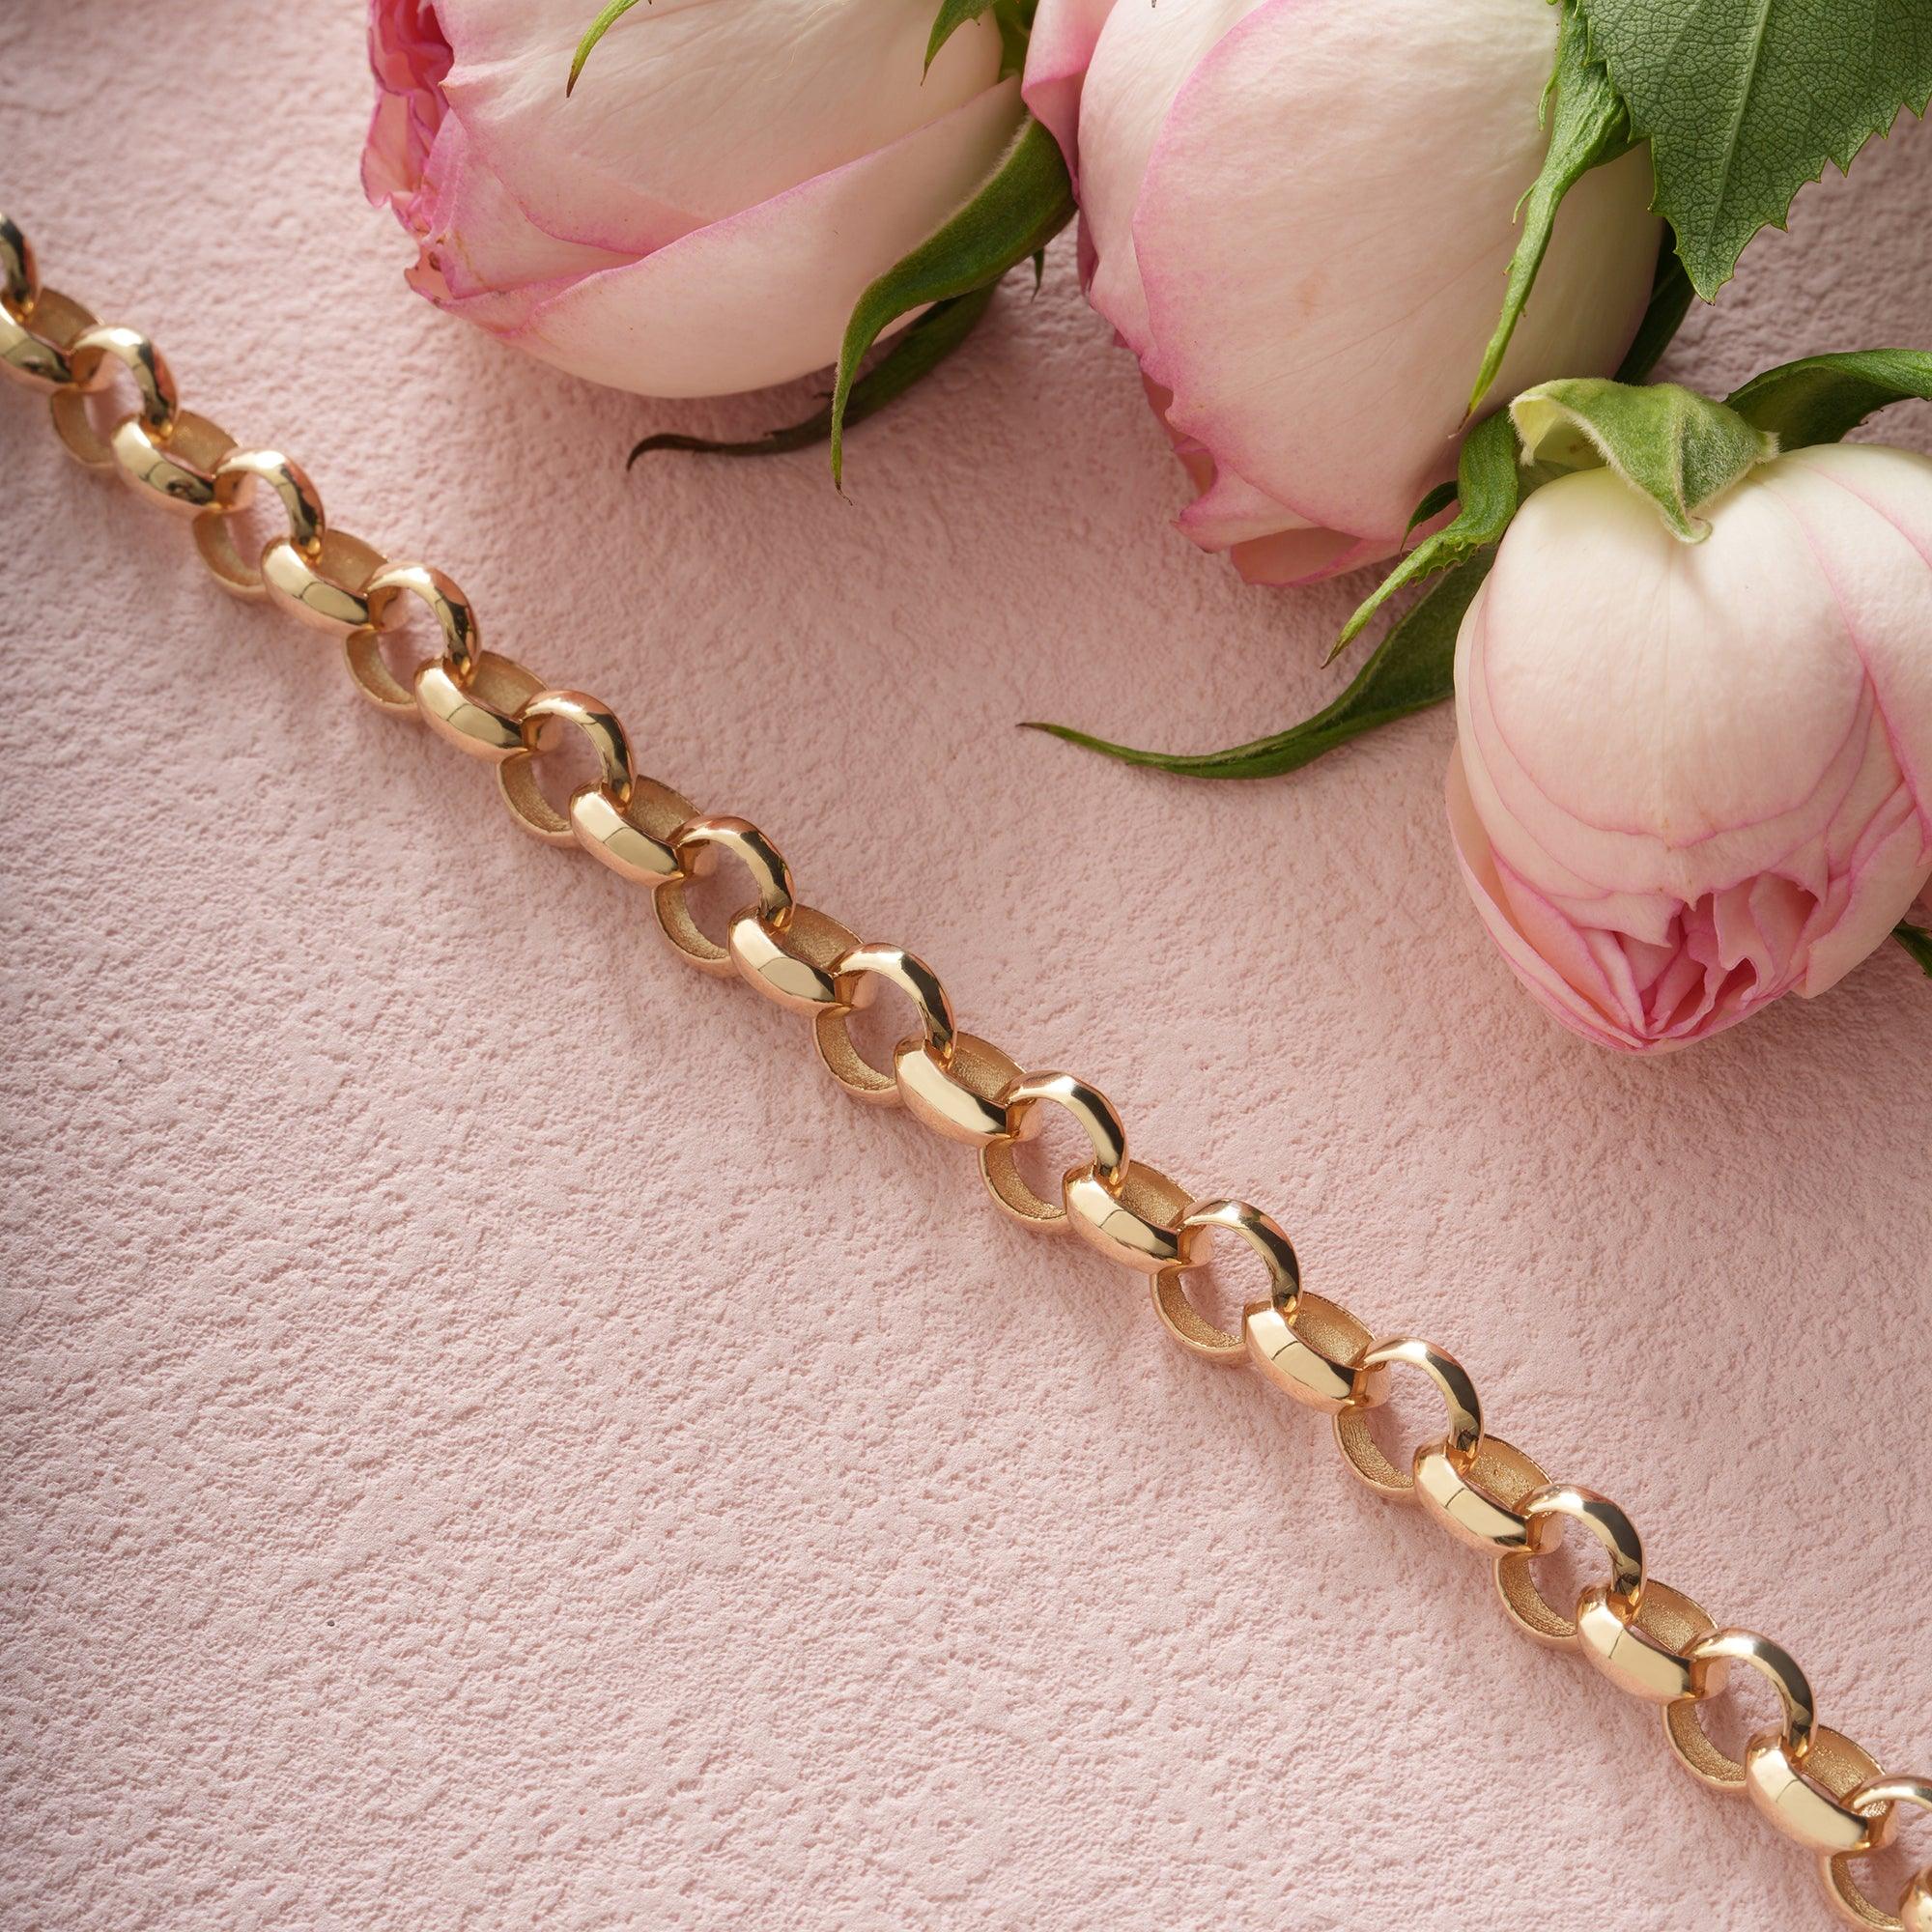
A friendship bracelet does not need to be worn alone. Many people stack one or two on the same wrist as a fine gold piece. The soft thread and the shine of metal make a nice contrast.
Here are a few ways to try it:
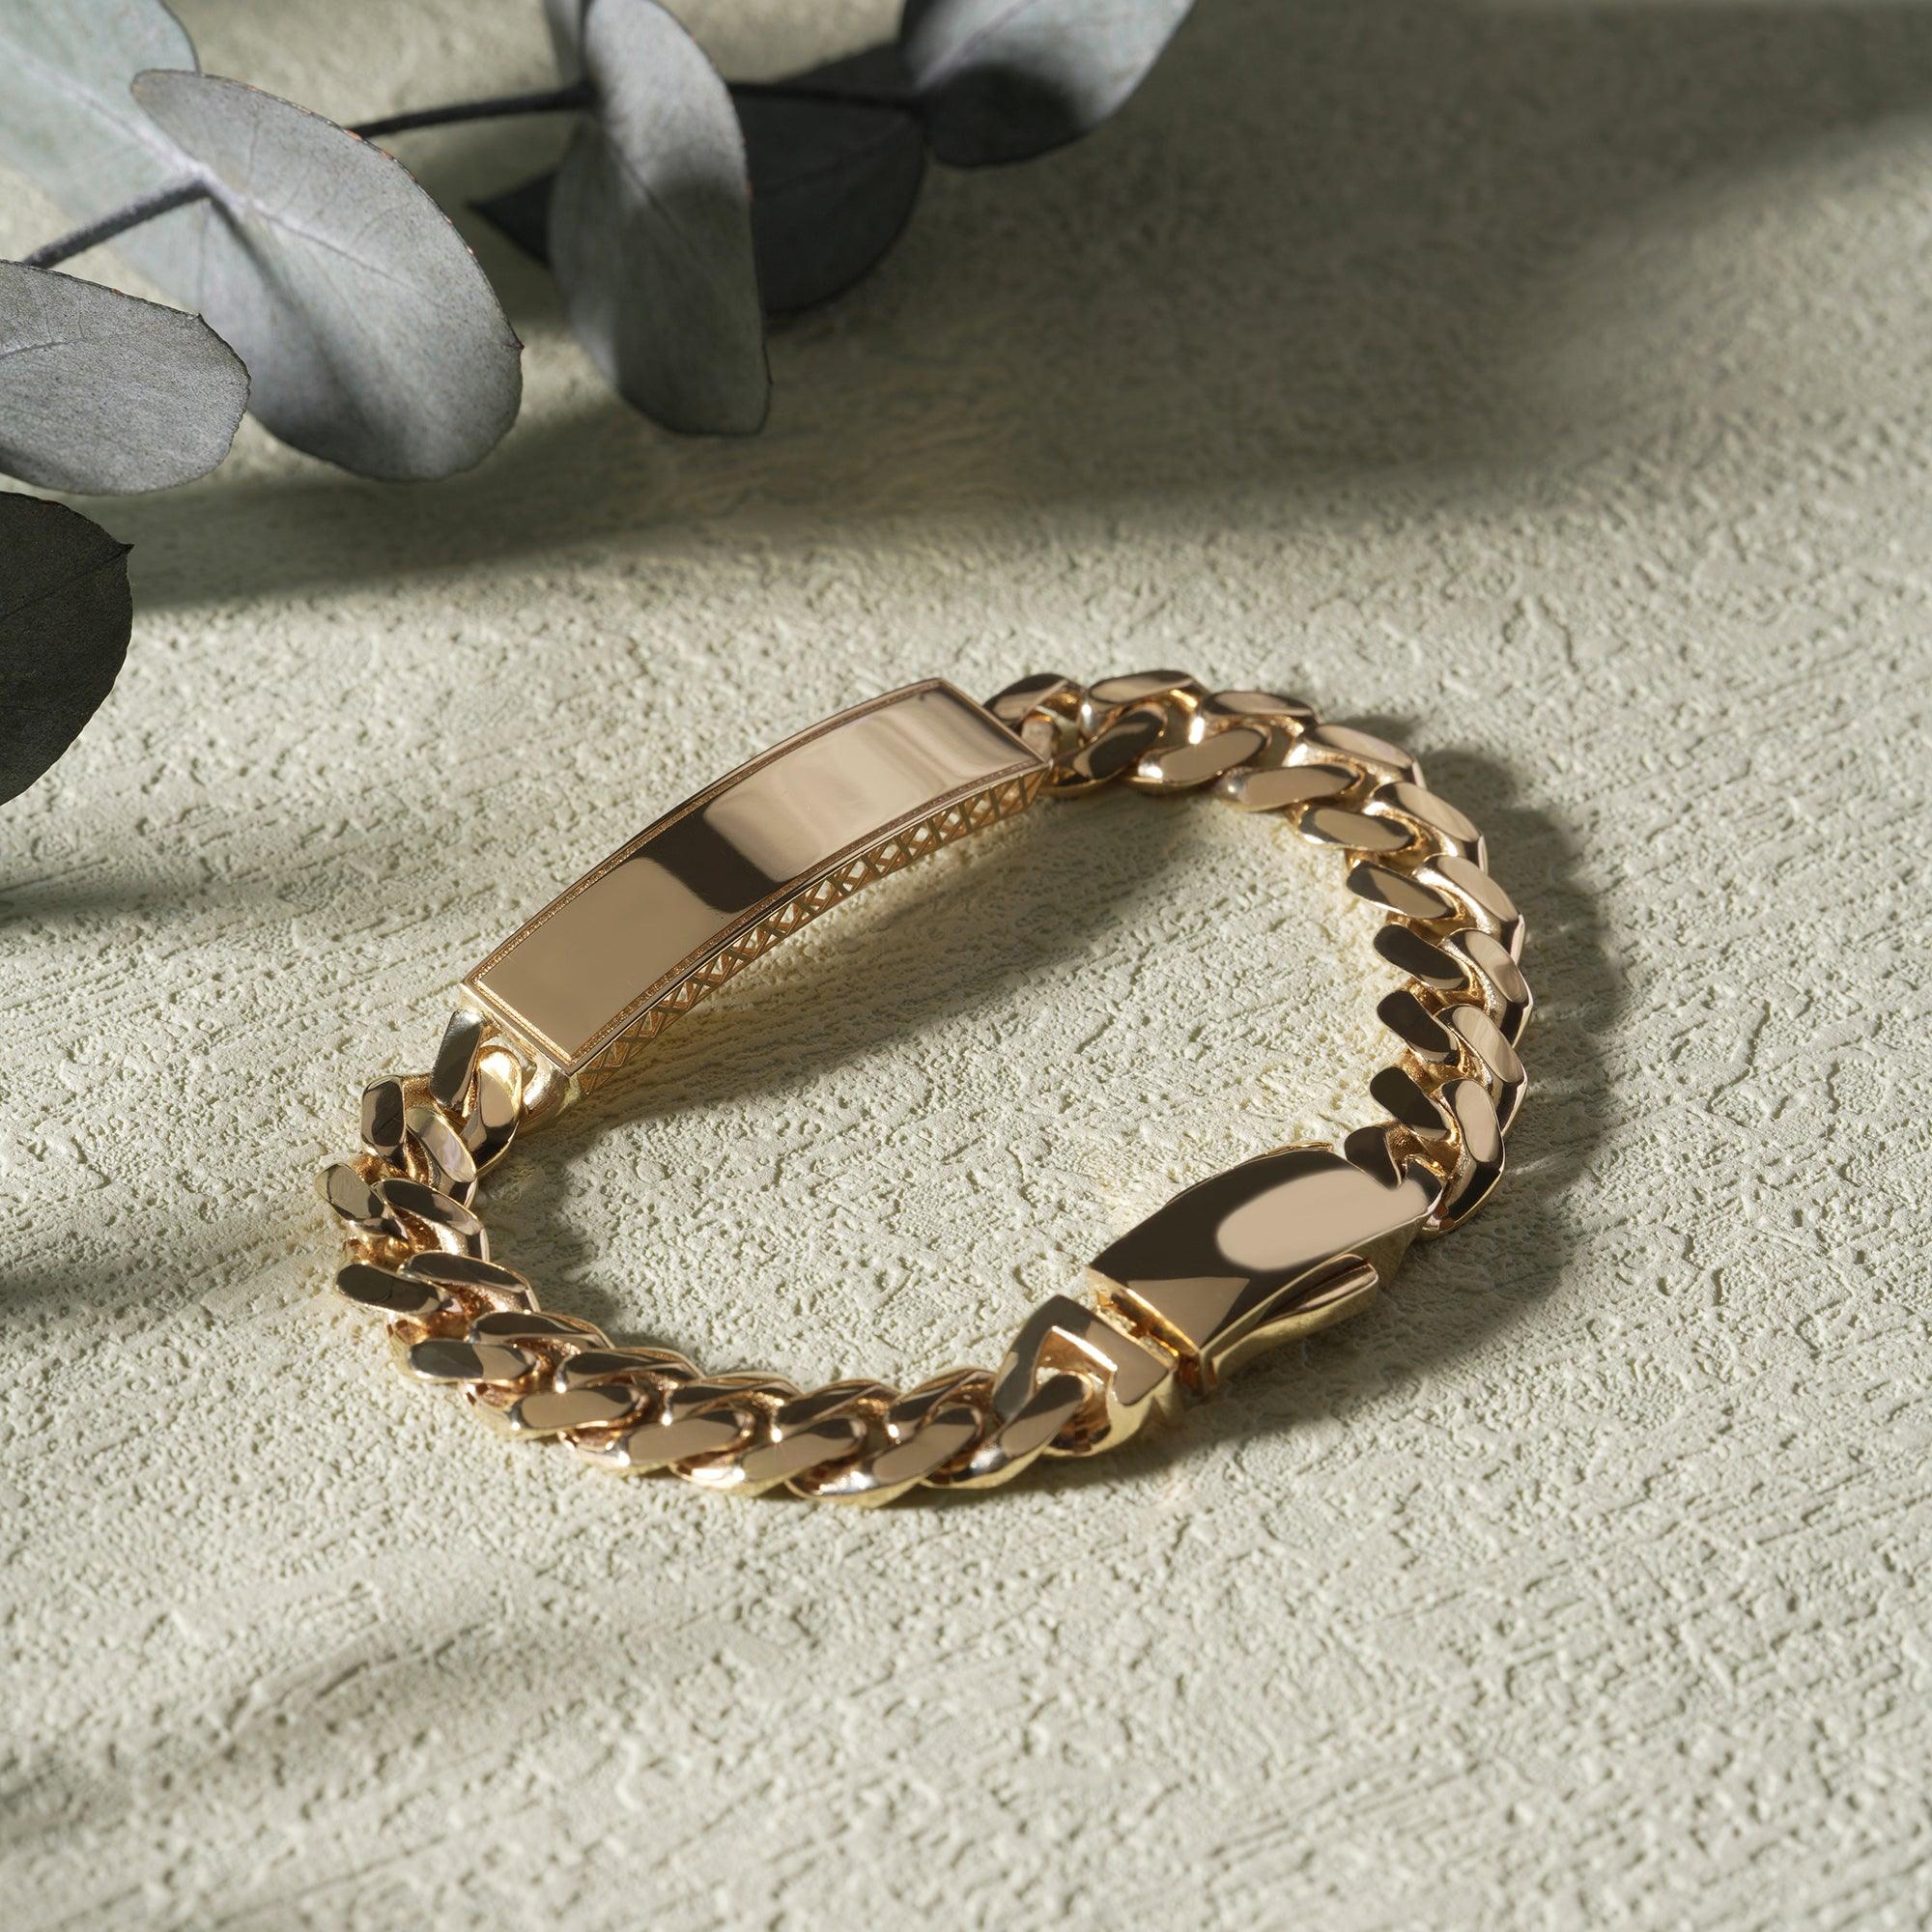
- Pair a thin string bracelet with a slim gold chain bracelet.
- Match one thread color to a gemstone color in your jewelry.
- Keep gold on one wrist and thread on the other for a balanced look.
Thread bracelets handle daily life, but they fray with time and hold on to water. Take them off before you swim or shower. Browse our gold and water guide for how solid gold handles wear.
Frequently Asked Questions
How do I make easy friendship bracelets with 4 strings?
Cut four strands about 30 inches long, two of each color. Knot them at the top and tape them down. Use the forward knot, starting from the left each row, to build diagonal stripes.
How do I tie a friendship bracelet with beads?
Thread the beads onto one strand before you start. Slide a bead up beside the braid or knot row, then keep working. Finish with a knot on each side of the last bead so it stays put.
How do I make string bracelets easy with 3 strings?
Cut three 18-inch strands and knot them at the top. Braid left over middle, then right over middle, until it fits your wrist. Knot the end and tie it around your wrist.
How long should the thread be?
For a braid, about 18 inches per strand. For knotted patterns like the candy stripe, use 30 to 36 inches. Knots use up thread, so longer is safer.
How do I make bracelets for concerts?
Use elastic cord and pony beads so you can slip the bracelet on and off. Plan the bead order ahead, then trade with friends. Allow about 10 inches of cord per bracelet.
The Bottom Line
Start with the braid, move on to the candy stripe, and add beads once your hands know the rhythm. Cut generous lengths, keep your tension even, and have fun with color.
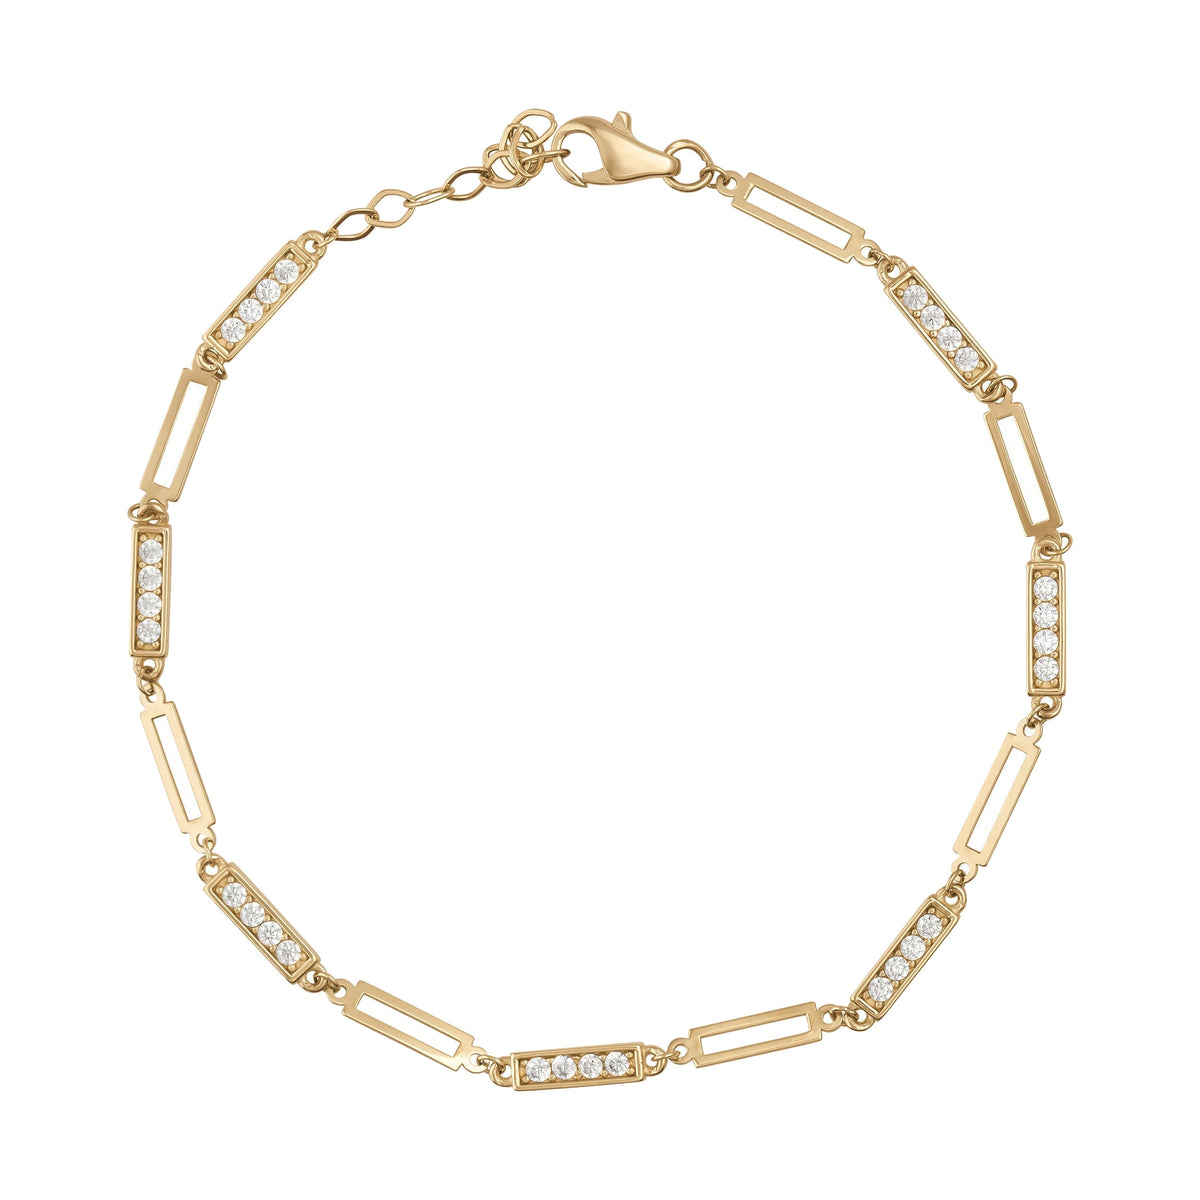
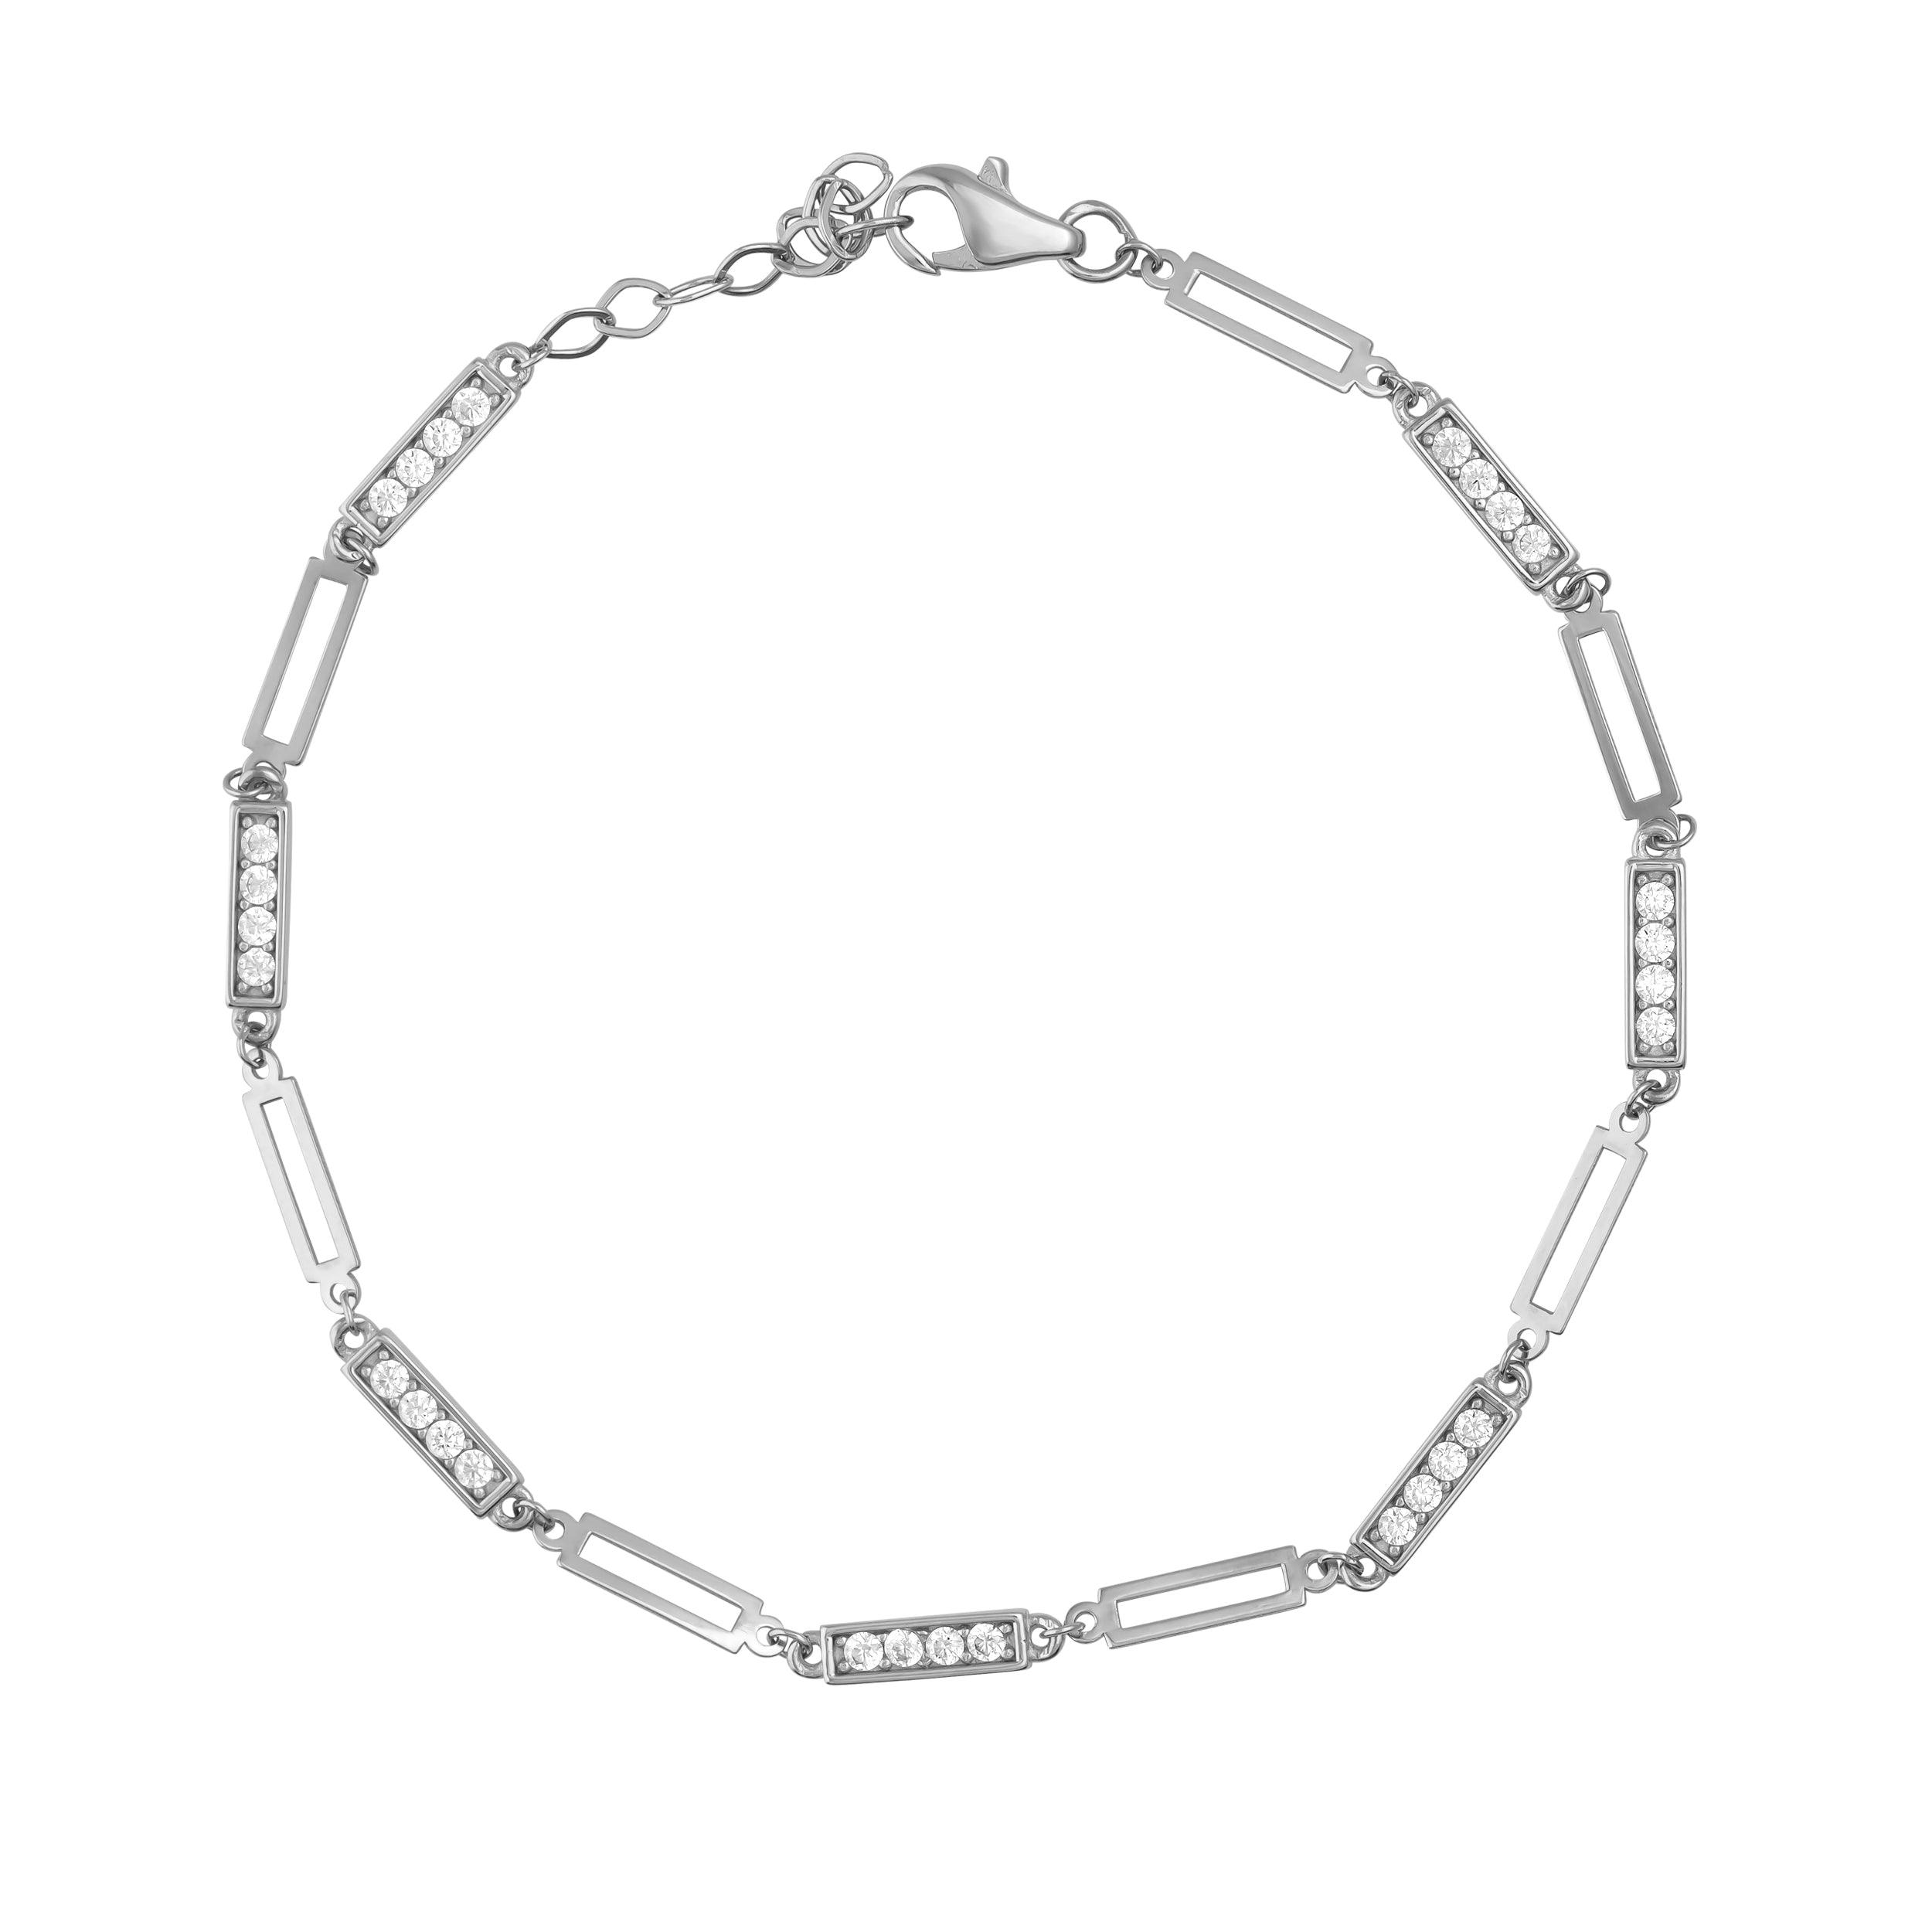
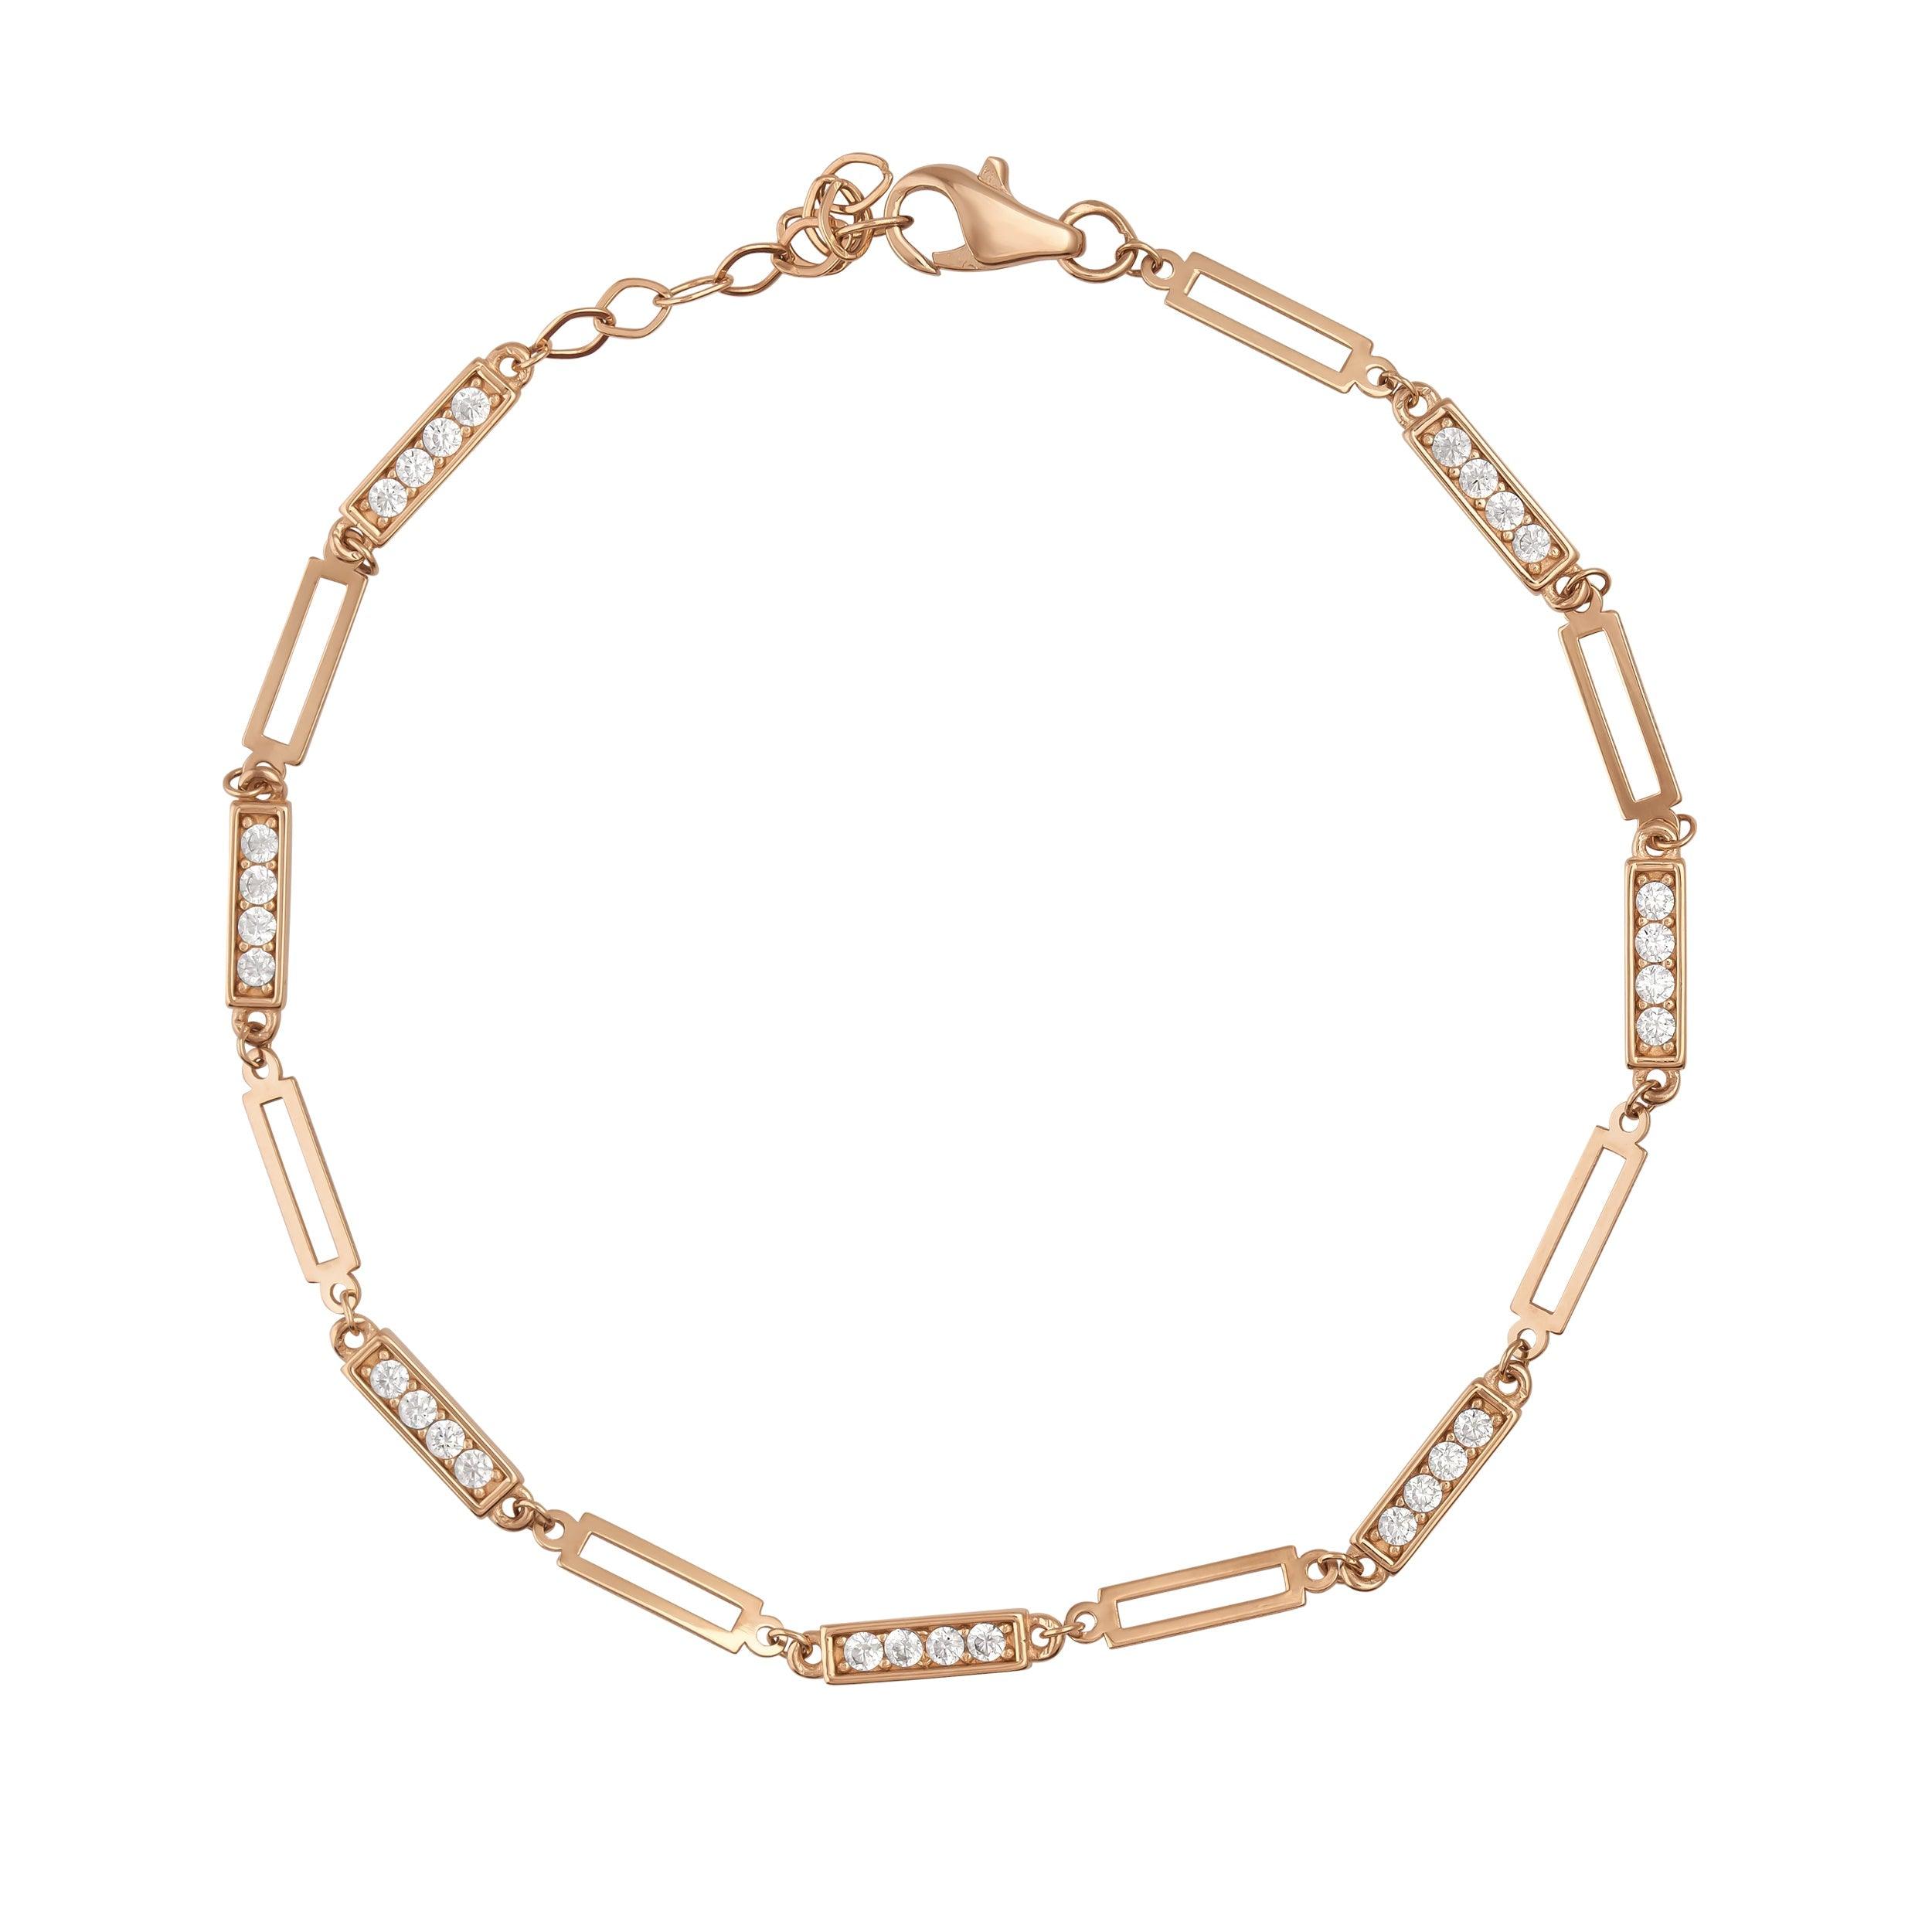
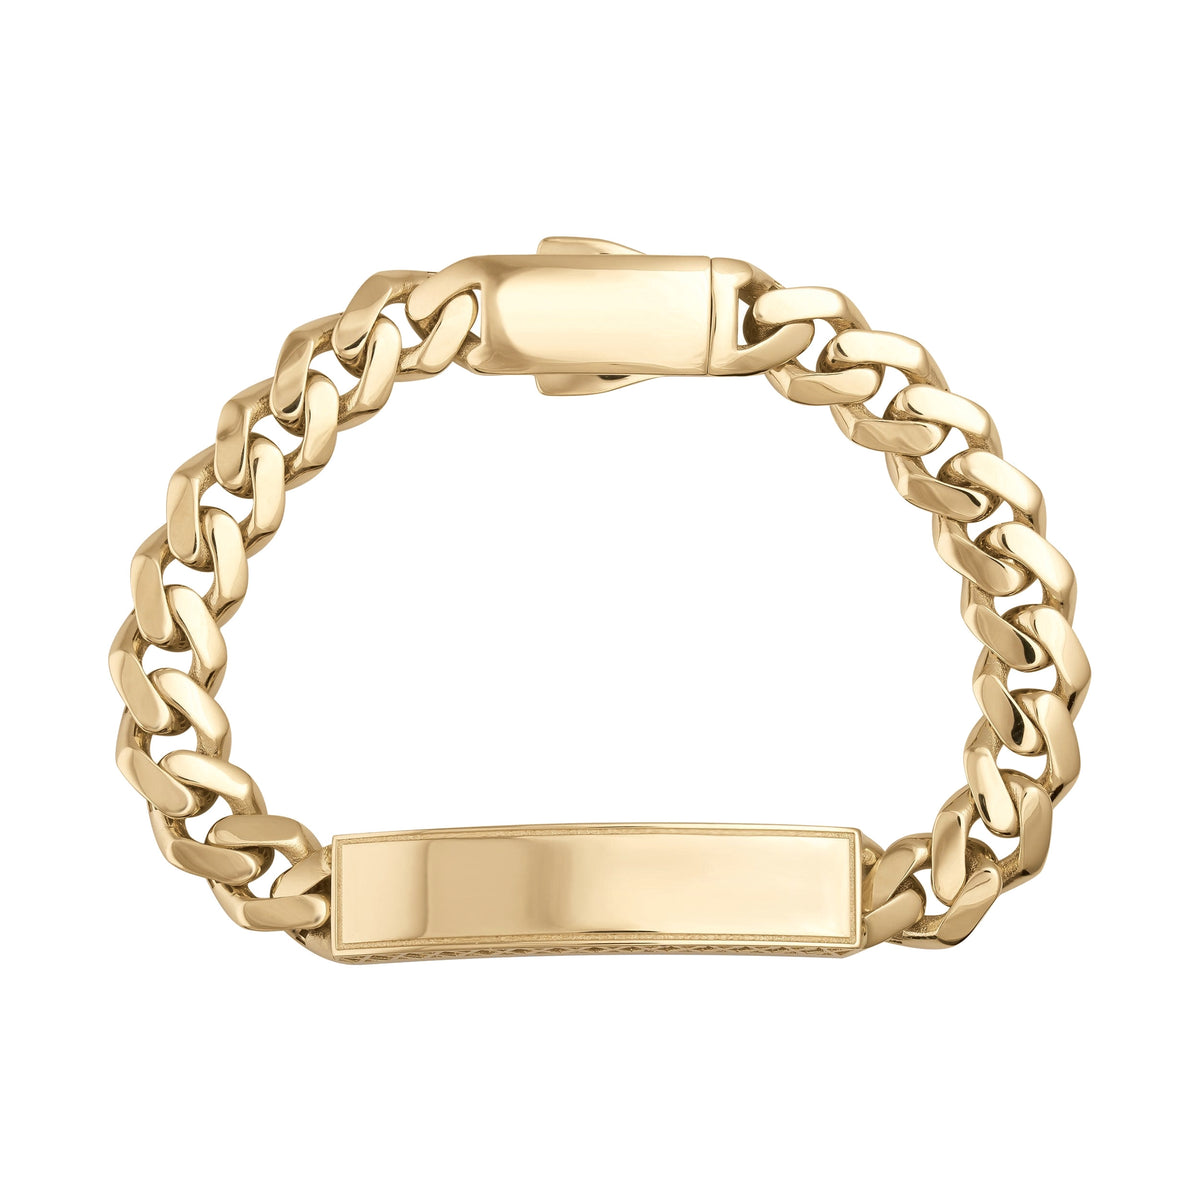
When you want a bracelet that lasts for years, explore our 14K gold bracelets collection.





Share:
Which Finger to Wear Ring for Single Male: A Simple Guide
List of Gemstones: Names, Colors and Hardness Guide