


You just unboxed a new bracelet, and now you're stuck fumbling with two loose ends. It might be a sliding-knot gold chain, a cord bracelet, or a stretchy beaded one. Tying it closed is simpler than it looks, once you know the right knot.
This guide walks through how to tie a bracelet, step by step, for every common closure. You'll also learn which knot holds best, and how to tie it alone.
- A sliding knot adjusts the fit and closes the bracelet in one move, with no clasp needed.
- You can tie a single-string bracelet alone by looping the free end around something steady first.
- Two-string and beaded bracelets need a double knot, or they will slip loose within days.
The Two Ways a Bracelet Closes
Most bracelets close in one of two ways. The first is a hardware clasp, like a lobster clasp or a toggle. It clicks or hooks shut. The second is a knot you tie yourself, usually on an adjustable cord or a fine gold chain with no clasp at all.
Adjustable, knot-tied bracelets have become popular for good reason. There's no tiny clasp to fight with, and no jump rings to bend out of shape. You can loosen or tighten the fit any time your wrist size changes, whether that's from weather, weight, or just personal taste.
Not sure what size you need first? Our guide to measuring your wrist covers that before you tie anything.
Below, we cover the sliding knot used on most adjustable gold and cord bracelets. We also cover the fixed knots used on beaded and multi-string styles. Pick the section that matches your bracelet.
How to Tie a Sliding Knot
The sliding knot is sometimes called a slip knot or adjustable knot. It's the standard closure on cord bracelets and many delicate gold chain bracelets. One loop of cord slides freely along another, so the bracelet tightens or loosens as you pull.
Here's how to tie it:
1. Lay the bracelet flat with both ends crossing over each other. You should see an X shape in the middle.
2. Take the end on the right. Wrap it around the left cord four to six times, working toward yourself. Keep the wraps snug against each other.
3. Pull that same end through the loop of wraps you just made. Pull it tight until the knot sits firm.
4. Repeat the same wrapping motion with the left end. This time, wrap it around the right cord.
5. Pull both loose ends to test the slide. The two knots should glide toward and away from each other, adjusting the bracelet's circumference.

Trim any long tails to about a quarter inch once you're happy with the fit. Add a small dab of clear glue if the cord frays easily. A solid gold chain with a sliding knot rarely needs glue, since the metal grips itself.
How to Tie a Bracelet by Yourself
Tying a bracelet with one hand is a common frustration. There's a simple trick: anchor one end before you start.
Loop the bracelet around your wrist. Then hook the clasp, or the crossed cord ends, onto something stable. A drawer pull, a pen laid across your desk, or even your own big toe all work well. Once one end is anchored, your free hand can pull, wrap, and knot the other end.
For a sliding-knot bracelet, hold tension on one loop with your teeth or a fixed point. Your fingers then wrap the cord around it. For a clasp closure, press the bracelet against a table edge or your leg so it can't spin while you line it up.
A little practice makes this fast. After two or three tries, most people can tie the same bracelet in under a minute, with no anchor at all.
How to Tie a Two-String Bracelet
Bracelets strung on two cords, common in beaded and woven designs, need a knot that won't loosen under movement. A single overhand knot is not enough here, since the two strands can slip apart from each other over time.
Cross the two ends into an X, then pass one end under and over the other, just like tying a shoelace. Pull it snug. Repeat the same motion a second time, in the same direction, to form a double knot. This is sometimes called a surgeon's knot, and it grips far better than one pass alone.
Test it by tugging both ends firmly before you trim the excess cord. If the knot shifts at all, undo it and tie it again.
Tying an Elastic Stretch Bracelet
Stretch cord bracelets, often used for beaded or charm designs, work a bit differently. The elastic itself provides the fit, so you're only tying the ends together.
Cross the two ends and tie a basic double knot. Pull it as tight as the elastic allows, without stretching the cord thin. Add a second double knot right on top of the first for extra security, since elastic relaxes over time.

Once both knots are tied, pull the bracelet gently from both sides to seat the knot inside a bead, if possible. This keeps the knot from digging into your wrist and hides the extra cord. If your bracelet mixes cord with gold accents, our guide to cleaning gold jewelry at home can help keep the metal looking its best.
Which Knot Should You Use?
The right knot depends on the bracelet's material and closure. Get this wrong and the bracelet either falls off or never fits quite right. Here's a quick reference for the styles covered above.
| Bracelet type | Best knot | Adjustable? |
|---|---|---|
| Cord or gold chain with sliding ends | Sliding (slip) knot | Yes |
| Beaded, two strings | Double (surgeon's) knot | No |
| Elastic stretch cord | Double knot, seated in a bead | No, fixed by the elastic |
| Single cord, one string | Sliding or simple overhand knot | Depends on style |
Frequently Asked Questions
What is the easiest way to tie a bracelet?
For most people, the easiest method is anchoring one end of the bracelet to a stable object, like a drawer handle. Your free hand can then tie the other end without the bracelet sliding around.
What is the most secure knot for a bracelet?
A double, or surgeon's, knot holds better than a single overhand knot on beaded and two-string bracelets. For adjustable cord or chain bracelets, a properly wrapped sliding knot is just as secure.
How do I tie a sliding knot for a bracelet?
Cross the two cord ends, then wrap one end around the opposite cord four to six times. Pull it through the wraps, then repeat the same motion on the other side. Pulling both loose ends adjusts the fit.
How do you tie a bracelet knot with a loop?
Some sliding knots start with a small loop instead of a straight cross. Fold one cord into a loop, then wrap the other end around both layers several times before pulling it snug. This gives thinner cords extra grip.
Can you tie a bracelet on your own wrist?
Yes. Anchor one end of the bracelet under a heavy object, your teeth, or your other foot. Use your free hand to wrap and pull the knot tight. It takes practice, but it works well.
The Bottom Line
Tying a bracelet comes down to matching the knot to the closure. Use a sliding knot for adjustable cord and chain, and a double knot for beaded and elastic styles. Once you've tied it right the first time, every wear after that takes seconds.
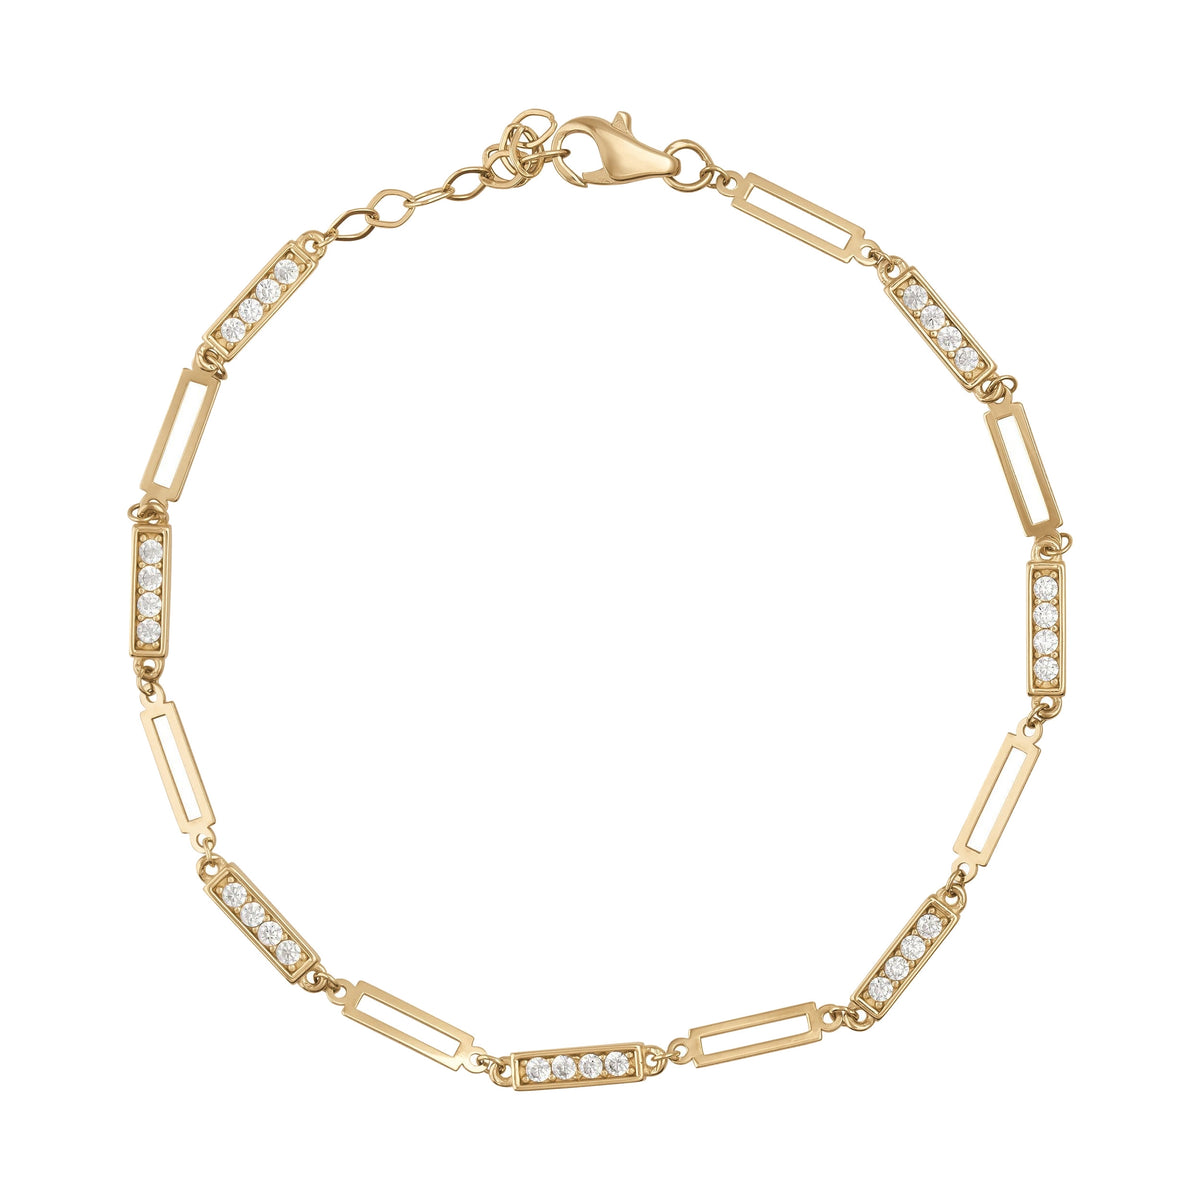
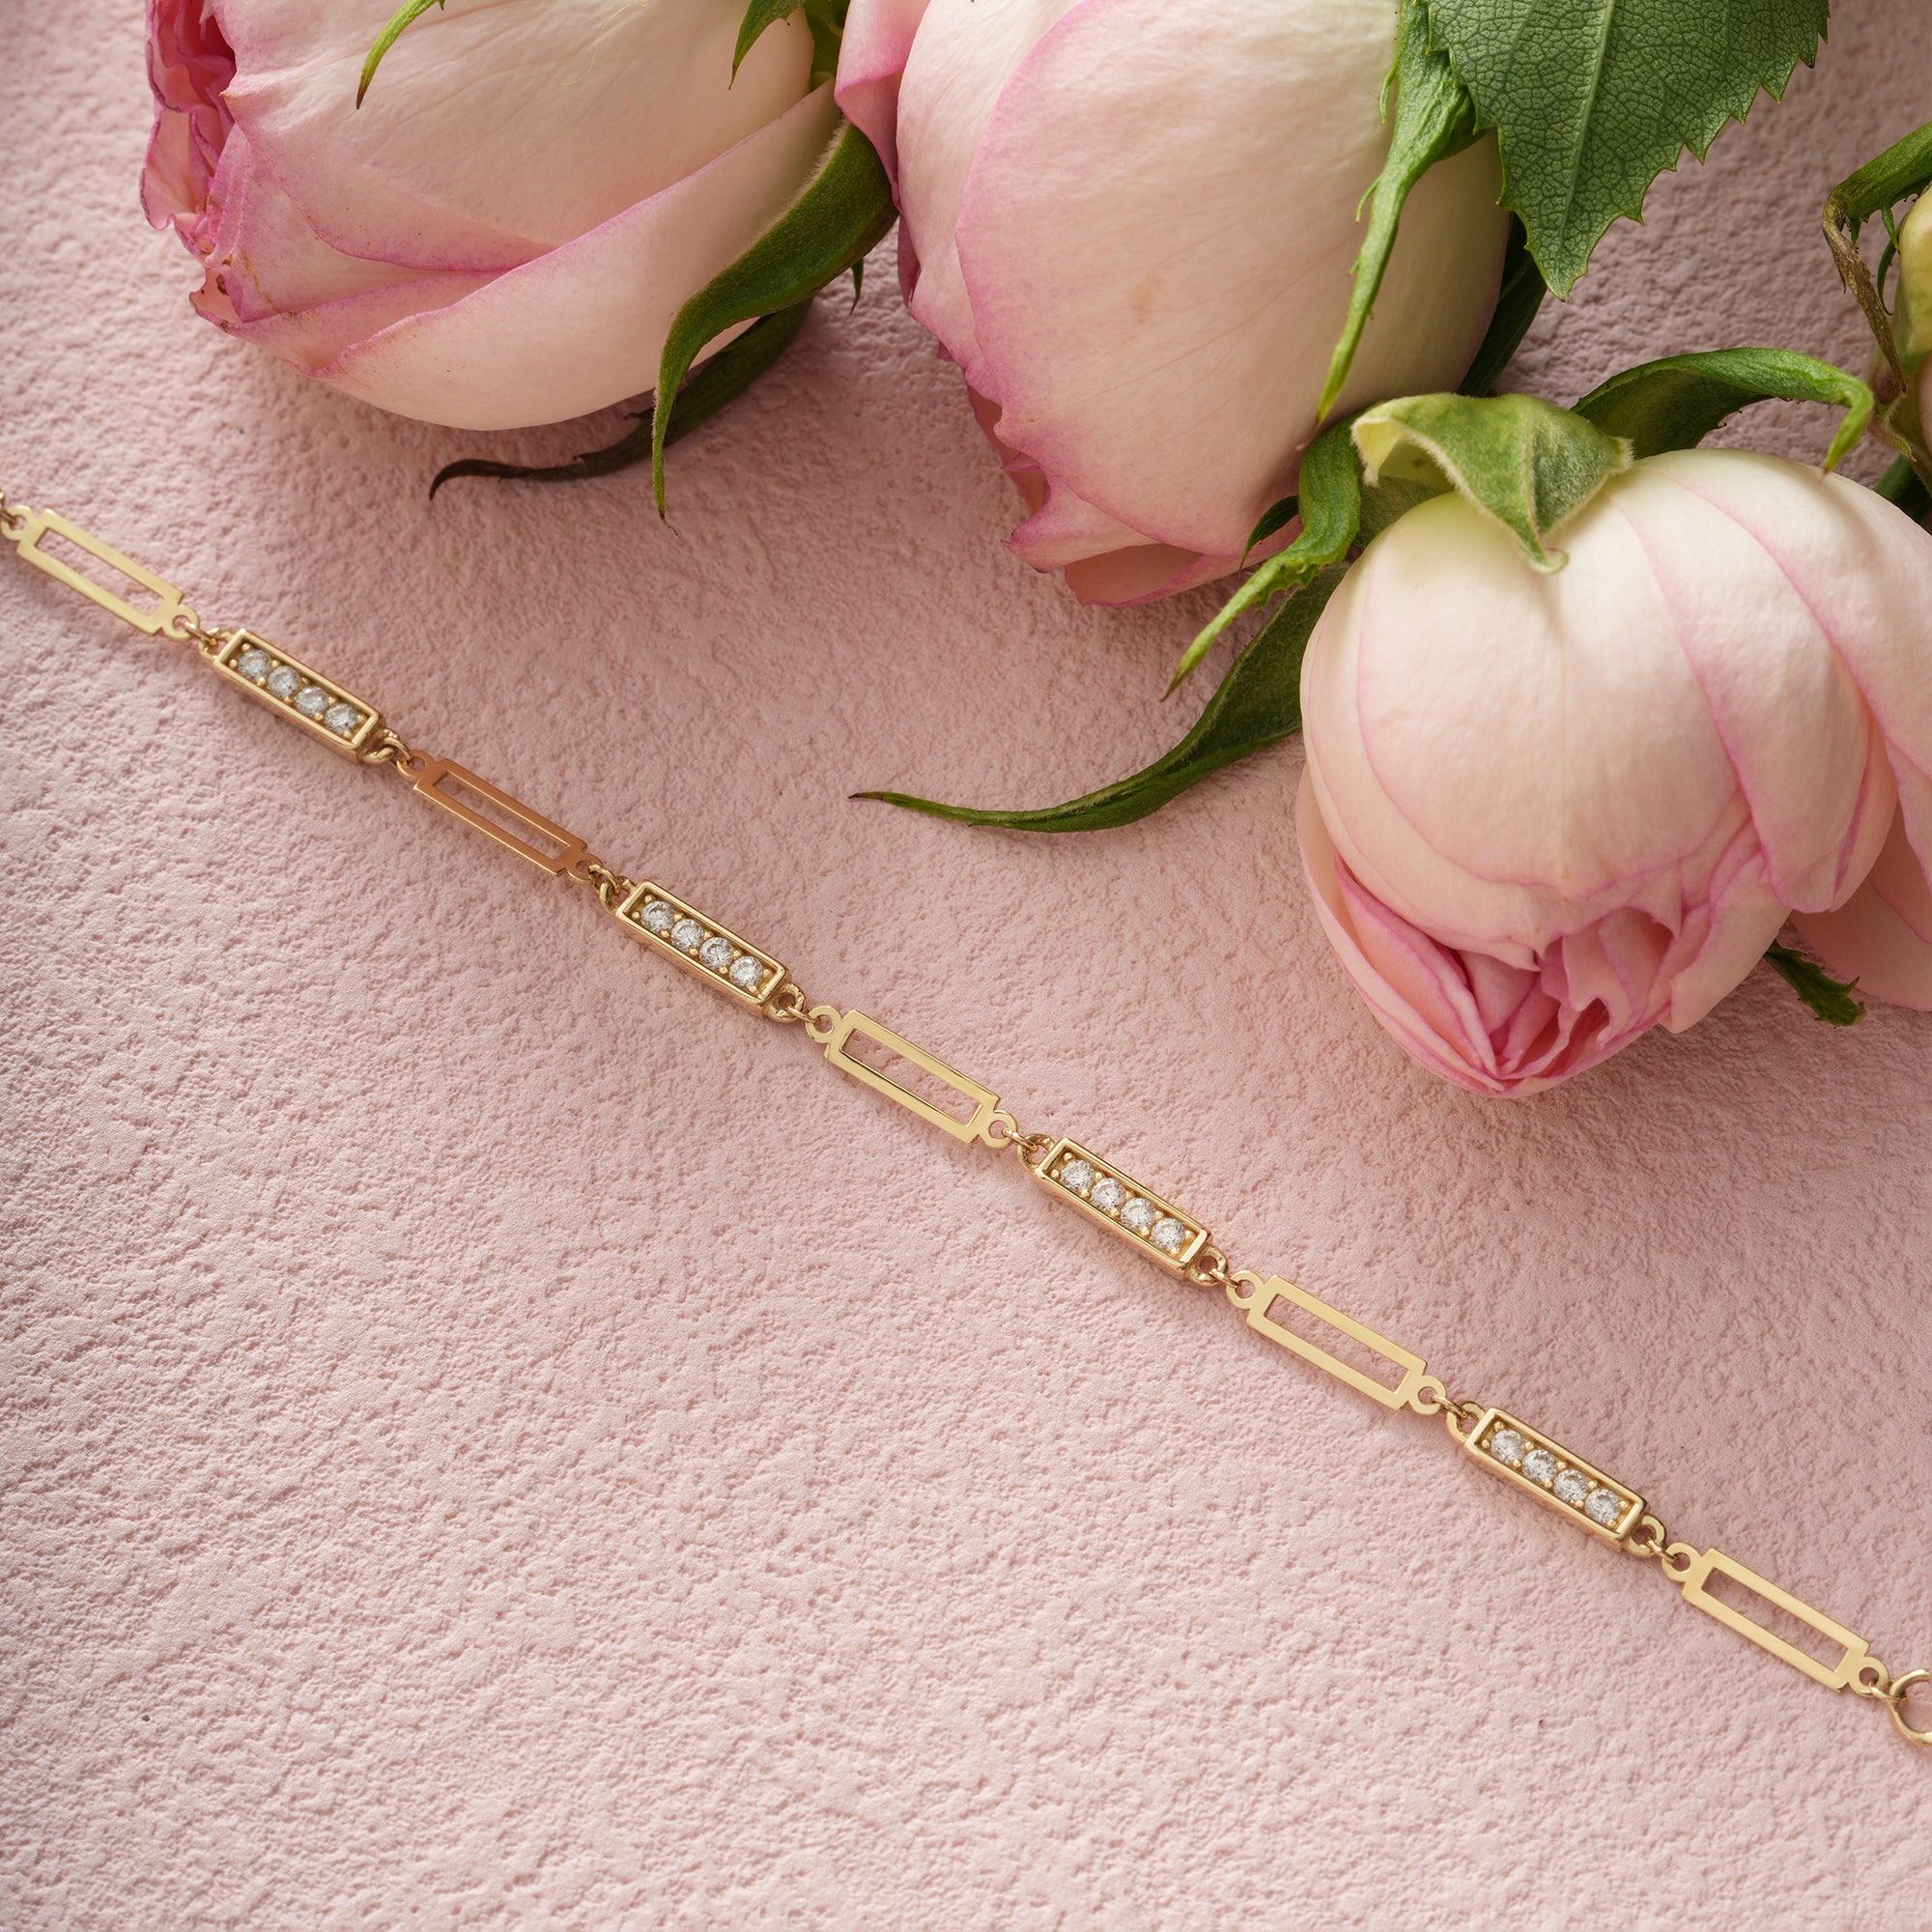
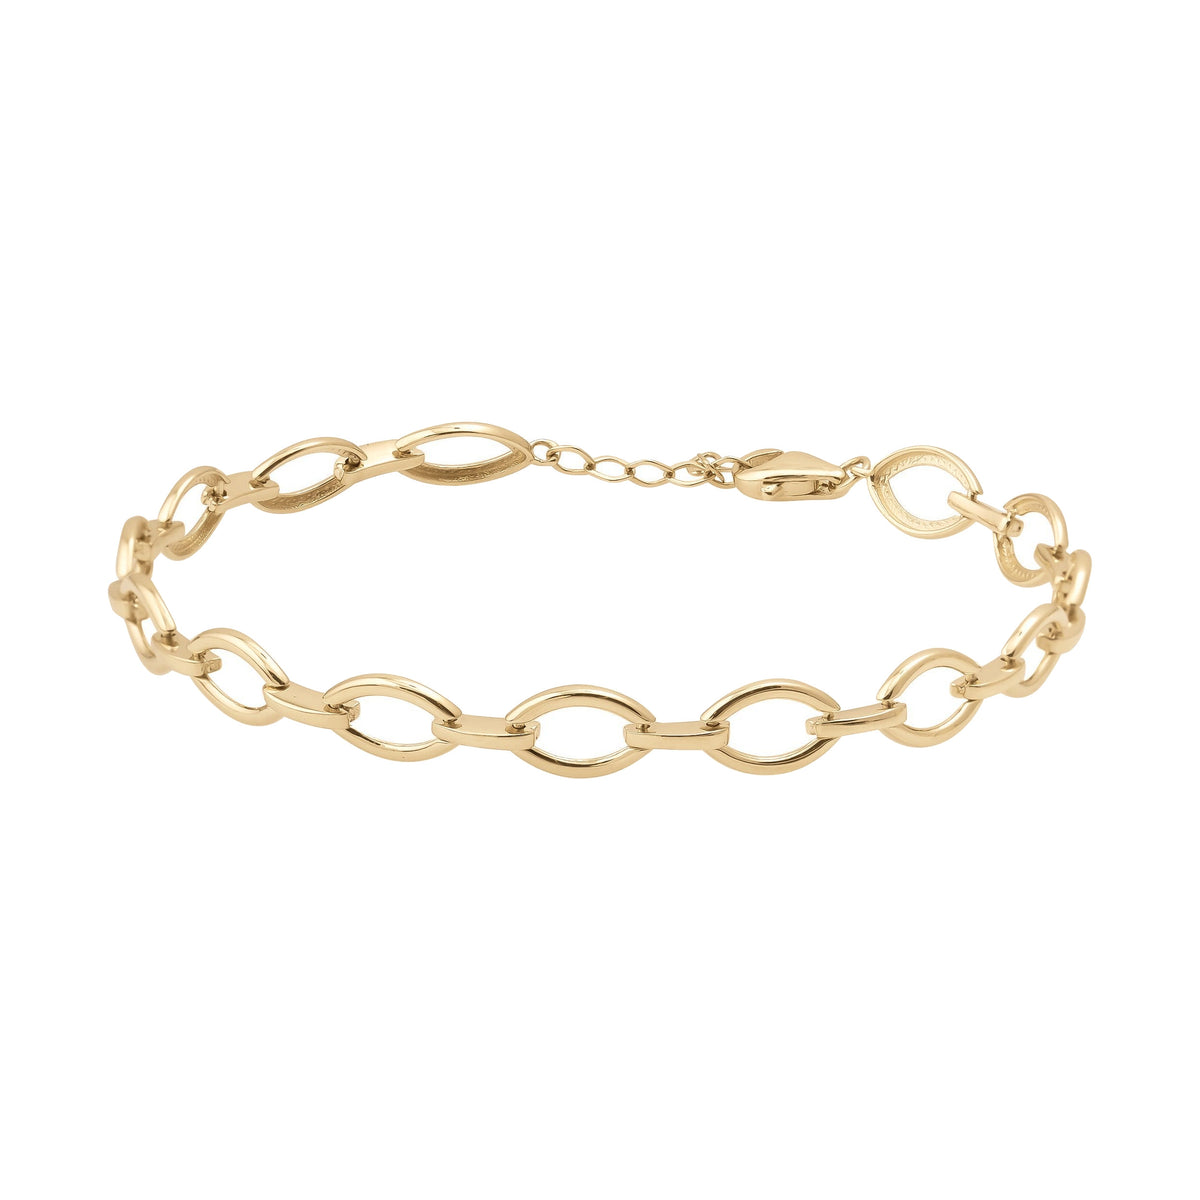
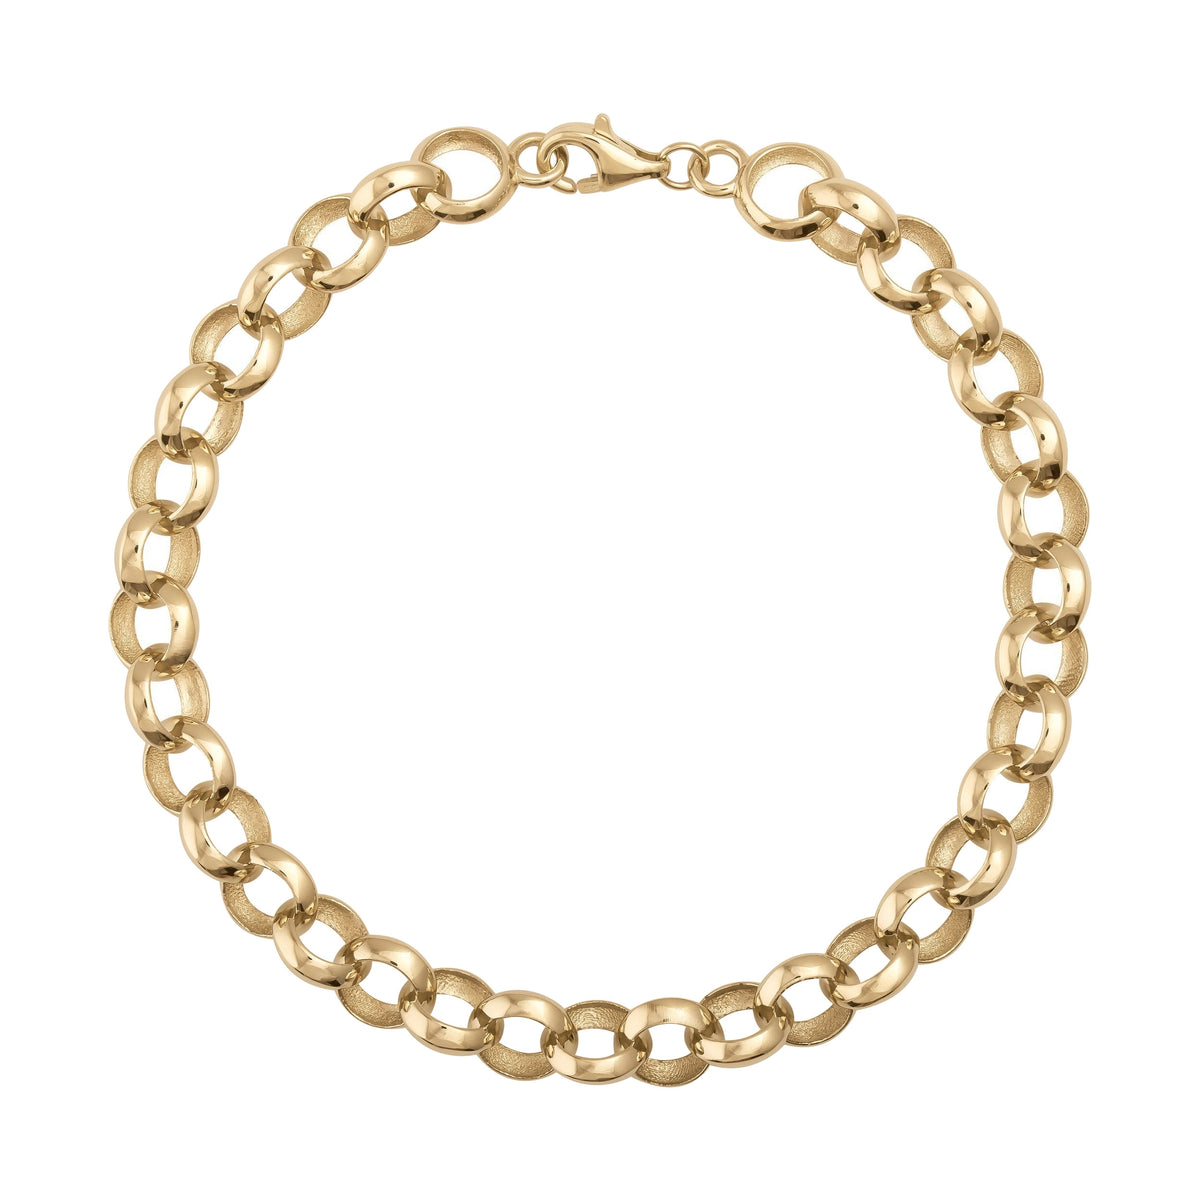
If you're shopping for a bracelet that's simple to tie and wear every day, browse our 14K Gold Bracelets collection for adjustable styles made to fit any wrist.






Share:
Types of Engagement Rings: A Complete Style Guide
Affordable Fashion Jewelry: A Buyer's Guide to Quality and Price